

Summary
Students explore how soil functions as trace evidence in forensic investigations. Through observation, hands-on soil analysis, and case-based reasoning, students learn how soil characteristics such as color, texture, and composition can link suspects and objects to specific locations.
Essential Questions
How can soil evidence be used to link people, objects, and locations in a forensic investigation?
Learning Objectives
Explain why soil is considered trace evidence in forensic science.
Identify and compare physical characteristics of soil samples.
Conduct basic soil analysis techniques used by forensic scientists.
Evaluate the reliability and limitations of soil as forensic evidence.
Snapshot
Activity 1:
Students make observations about a crime and the suspects of the crime.
Activity 2:
Students conduct physical and chemical tests on the soils from the suspects and record the information.
Activity 3:
Students analyze soil from the crime scene and determine who they believe committed the crime.
Activity 4:
Students create a presentation about two careers: one career that relates to soil analysis and another that relates to forensic science.
Activity 5:
Students give their presentations to the class and reflect on their learning from the lesson.
Materials List
Activity slides (attached)
Field Notes handout (attached; print two-sided; color recommended; one per student)
Detective’s Letter handout (attached; one per student)
Soil Investigation Lab Guide handout (attached; print two-sided; stapled; one per student)
Claim, Evidence, Reasoning (CER) handout (attached; one per student)
Soil Evidence handout (attached; one per envelope)
Career Presentation Guide (attached; two-sided; stapled; one per student)
Soil (three different samples per group; see Prep Notes)
Magnifying glass (one per student)
Forceps (one per group)
Petri Dish (four per group)
Ruler (one per group)
Distilled Water (50 mL per group)
Vial (50 mL) with cap and flat bottom (four per group)
Test tube with stopper (four per group)
pH Test strips (4 per group)
Nitrate tester strips (4 per group)
Phosphate tester strips (4 per group)
Digital scale
Stopwatch (one per group)
Ziplock bags (one per soil sample per group)
Clorox Wipes (optional; 1-2 per group)
soil test kits (optional)
Preparation
Prior to the lesson, hang the suspect case files where groups can easily view them during the activities. Follow the directions below to prepare your evidence.
Prepare the evidence from the crime scene:
Obtain soil samples from three locations around your school building. Make sure you collect enough soil for all your class periods to complete the investigations. You will need more of the thief's/crime scene soil than the other two.
Prepare a bag of each soil for each group of students. Label each bag with a suspect number on it. Make sure each suspect has the same soil for all groups.
Determine which suspect committed the crime. Put some of the soil from the thief into another bag and label it ‘crime scene’. Make one for each group.
Make notes of the sample soil’s location and which shoe has which sample on it for your own reference and in case you need more soil.
Adjust slide 25 to display the thief you selected. Move the red circle to reveal the suspect you have chosen.
Note: Prior to the activity, test the soil yourself to have an idea of the results and to make sure students will be able to differentiate between soil types in order to determine the correct suspect. If you find this tricky with the soil you have available, you may want to purchase different types of soil instead to ensure that the samples are different.
Materials: If you use pH, nitrate or phosphate testers that are not strips, you will need to adjust the directions on the Soil Investigation Lab Guide.
Activity 2: Set up an area where students can sign out their soil samples. This should resemble the evidence locker where they sign evidence in and out.
Update Slides: View slide 15 and slide 22 before you begin. Update the information in these slides to match your classroom procedures for cleaning up and wiping down surfaces.
Activity 1
20 Minute(s)
Use the attached Activity Slides to facilitate the activities. Display slide 2 to introduce students to the lesson’s title.
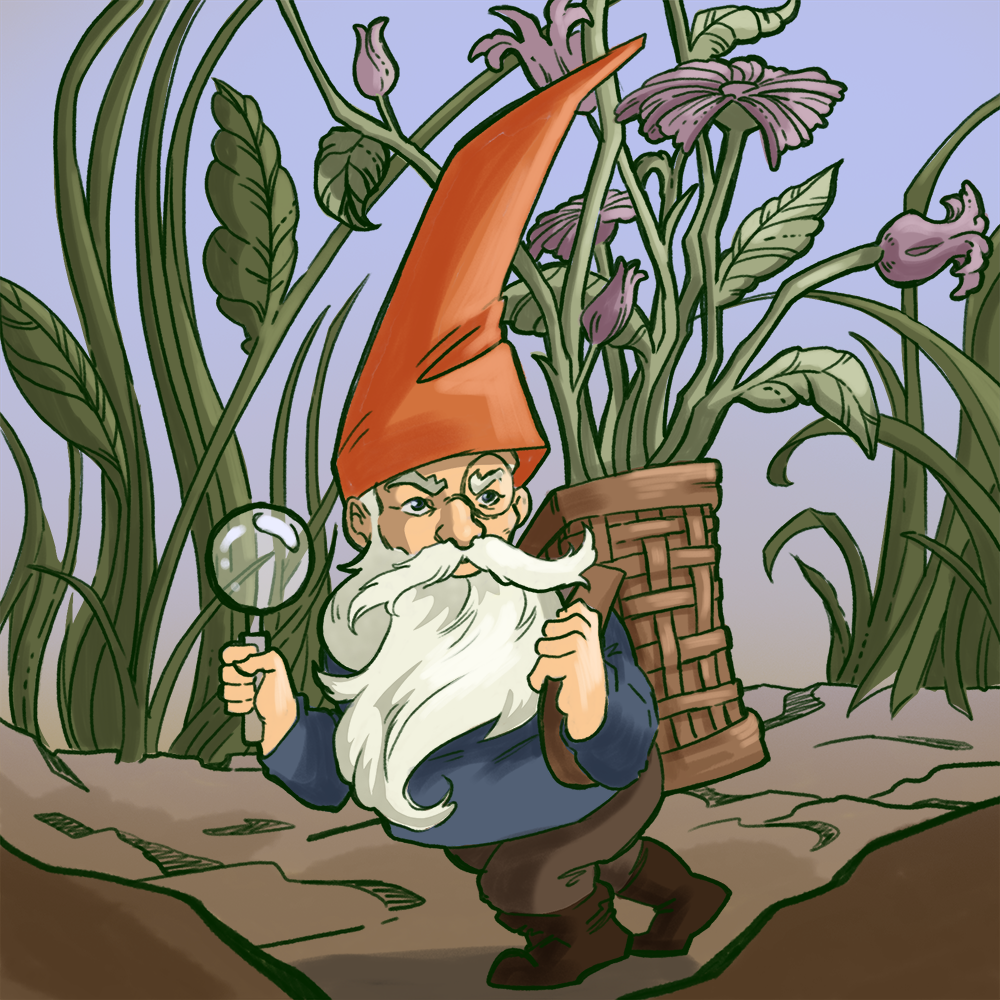
Pass out a copy of the attached Field Notes handout to each student. Move to slide 3 and explain to students that they will be investigating a crime scene. Explain that a crime has taken place and a beloved gnome has disappeared from the client’s garden. Pass out a copy of the attached Detective’s Letter handout to each student. Display slide 4 and show students the crime scene. Read the Detective’s Letter out loud and have students follow along. They should record observations about the crime scene and the scenario on the field note side of the handout as you read. Repeat information as needed so students have detailed notes.
Display slide 5 to introduce the suspects and the pieces of evidence collected. Have students add the new information to their field notes.
Use slide 6 to provide students with information about the soil and trace evidence. Have students record what they learn in the Supplemental Notes column of their handout. Explain how soil gets transferred from one location to another. Transition to slide 7 and go over the types of tests that need to be done to compare soil types.
Move to slides 8–9 and go over the essential question and learning objectives.
Activity 2
45 Minute(s)
Move to slide 10 and explain to students that they will be analyzing the soil samples from three different suspects. Pass out a copy of the attached Soil Investigation Lab Guide handout to each student. Display slide 11 and explain that they must sign out the evidence to maintain chain of custody. Ask students to select a group member to retrieve their evidence packets.
Once all students have their materials, display slide 12 and invite students to start with the sedimentation test. While the sedimentation test sits, have students complete the physical test display slide 13 and have them start the physical characteristics of their sample: color, odor, texture, presence of plant material, and presence of inorganic material. Have students use the steps on the Soil Investigation Lab Guide and record their results in the table. Remind them to leave the crime scene column blank as they will test that soil separately. Once students have finished their physical characteristic observation, move to slide 14. Invite students to complete chemical characteristic observations using the Soil Investigation Lab Guide. Have students record their results in the table. Transition to slide 15 and invite students to return the remainder of their evidence and clean up their station. Have students return their materials and wipe down their lab area. Display slide 16 and facilitate a discussion about what information they found and how it will help them determine who the thief is.
Activity 3
45 Minute(s)
Display slide 17 and explain to students that they are going to be testing the soil from the crime scene. They will use the same Soil Investigation Lab Guide as they did in the previous activity. Inform students they will now be recording their information in the last column for the crime scene. Move to slide 18 and have students collect the crime scene evidence. Remind students that they will be conducting the same investigations as they did the previous day. Display slide 19 and invite students to start the sedimentation test. While the sedimentation test sits, display slide 20 and have the students start the physical characteristics of their sample: color, odor, texture, presence of plant material, and presence of inorganic material. Once students have finished their physical characteristic observation, move to slide 21. Invite students to complete chemical characteristic observations. Remind students to record their results in the table. Transition to slide 22 and invite students to return the remainder of their evidence and clean up their station.
Move to slide 23 and ask students to compare the results of the crime scene analysis to the samples from the suspects. Invite students that they need to decide who they are going to accuse of the crime. Move to slide 24 and introduce students to the Claim, Evidence, Reasoning (CER) strategy. Invite students to state who they believe committed the crime via the fill-in-the-blank statement on the slide, provide 2–3 pieces of evidence (specific pieces of evidence from the physical and chemical characteristics that matched), and a reasoning or justification for the claim (explanation of trace evidence and what it means and how it applies to this situation). Pass out a copy of the attached Claim, Evidence and Reasoning (CER) handout to each student.
Ask students to share their CER with a partner. Then invite students to share their CERs with the whole group. Move to slide 25 and inform students who the criminal really was! Progress the slide deck once to reveal the thief on slide 25.
Activity 4
45 Minute(s)
Move to slide 26 and invite students to create a presentation about soil investigating and two careers. Inform students they are going to look for one forensic career to present on as well as one career that involves testing soil (which does not need to be forensics-related). Pass out a copy of the attached Career Presentation Guide handout to each student. Referencing the handout, briefly walk students through requirements for their presentations. Encourage students to use the provided rubric on the Career Presentation Guide as creating their presentations. Provide students with the following link: aafs.org/careers-forensic-science.
Provide students time to search for a career that involves soil.
Activity 5
45 Minute(s)
Display slide 28, and inform students that as their peers present their presentation they need to take note on the back of their Career Presentation Guide handout about two careers they learned about. Introduce a modified version of the SIT (Surprising, Interesting, Troubling) strategy. Inform students they will write down one surprising, interesting, and thought-provoking thing they learned about each of the careers they choose to record.
Follow-Up Activities
Consider completing other forensic activities and lessons from the Forensic Activity Collection.
Research Rationale
Resources
Careers in forensic science. American Academy of Forensic Sciences. https://www.aafs.org/careers-forensic-science
Flinn Scientific. (n.d.). Physical and chemical properties of soil: Student laboratory kit. https://www.flinnsci.com/physical-and-chemical-properties-of-soil---student-laboratory-kit/ap7184/
K20 Center. (n.d.). Claim, evidence, reasoning (CER). Strategies. https://learn.k20center.ou.edu/strategy/156
K20 Center. (n.d.). S-I-T (Surprising, Interesting, Troubling). Strategies. https://learn.k20center.ou.edu/strategy/926
Lorna Dawson on forensic soil science. (2017, January 13). YouTube. https://www.youtube.com/watch?v=EC7Mq835aYQ