
Card
Time Capsule
In this strategy, students curate a visual representation of artifacts that summarize a topic or event and justify their reasons for including these items.
Time Capsule
Summary
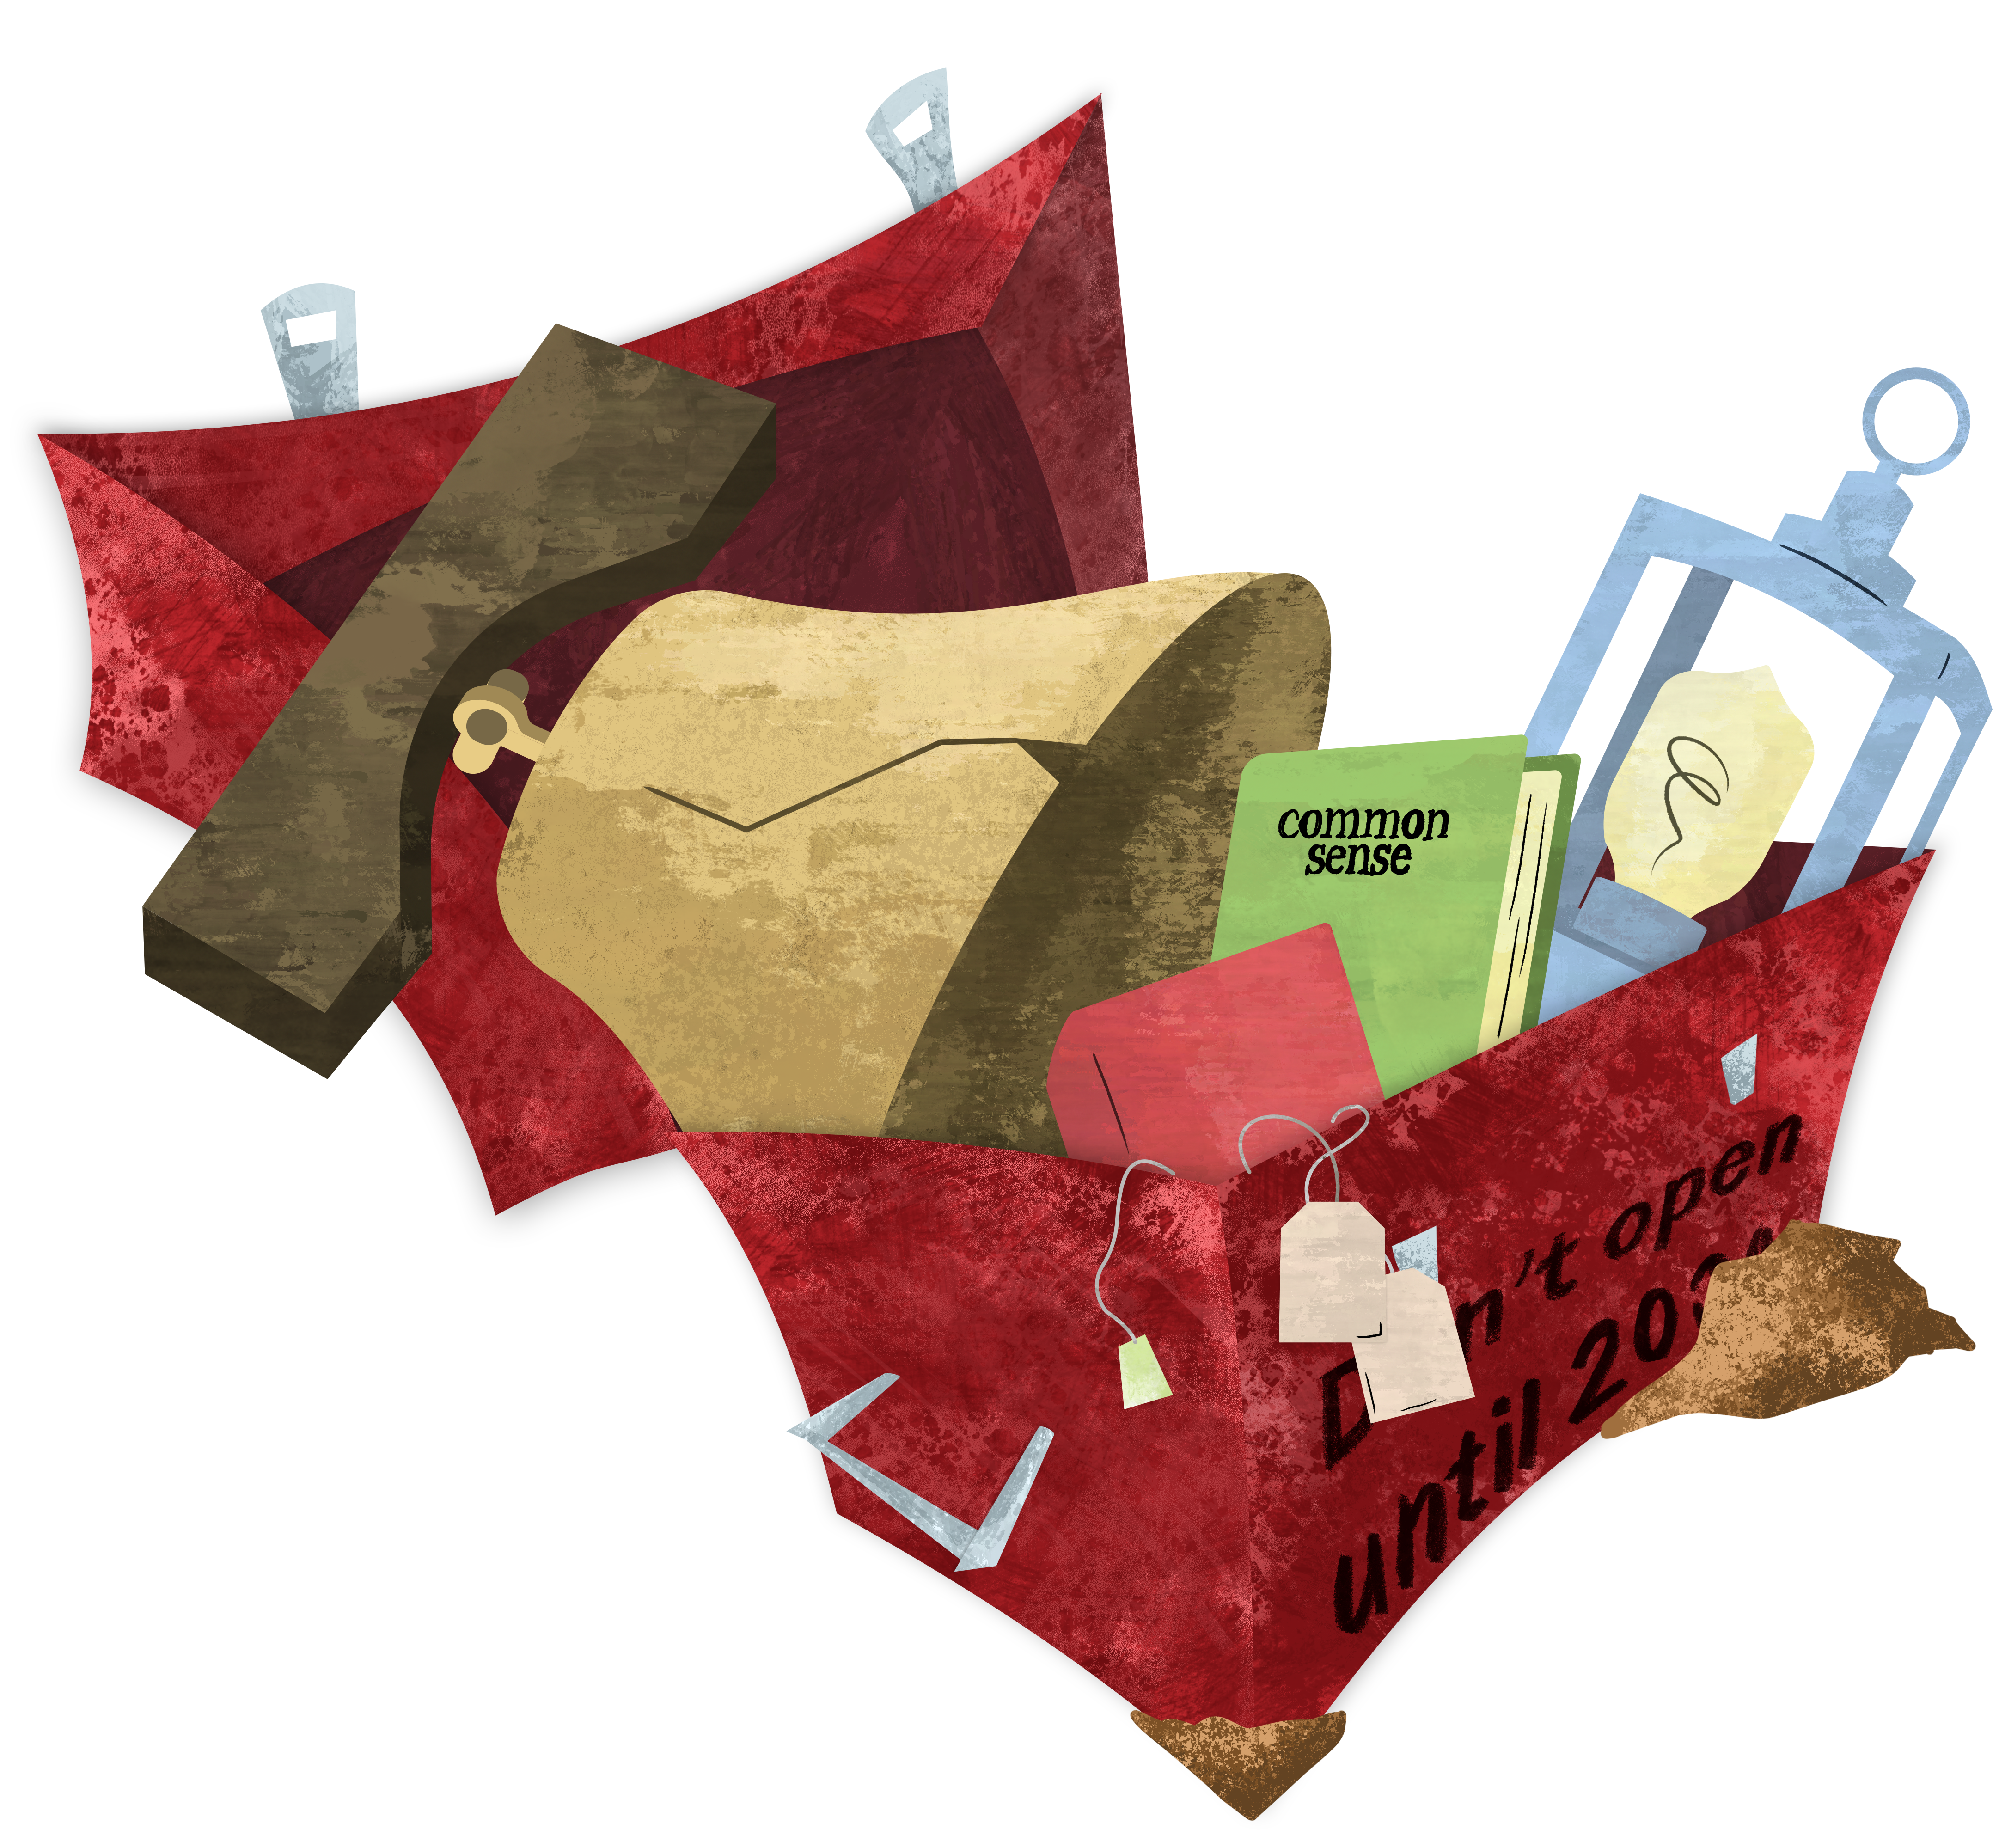
After studying a topic or event, or completing a unit, students pick a specified number of items that represent key points from the lesson and then provide their reasoning for them to be included in a time capsule. Traditionally, a time capsule is something that holds artifacts from history to preserve for years in a hidden location, but a time capsule can also be used for storing material representations of an event or topic. The items chosen should help students visualize important themes of the topic that was studied, while their “reasoning” should help them summarize key events.
Procedure
Choose the topic or event to be represented by a time capsule.
Teach the topic or event.
Specify the number of items students should include.
Provide time for students to create a list of items with their reasoning.
Optional: Have students draw or find images online to include.
Optional Technology Integration: Have students use Canva, Google Slides, or another online tool to create their time capsule.
Zwiers, J., & Crawford, M. (2011). Chapter 8 Conversations in History. In Academic conversations: Classroom talk that fosters critical thinking and content understandings (pp. 159–160). essay, Stenhouse Publishers.
Publisher
Downloads
Placement In Lesson
- Extend/Additional Learning Activity
Intention/Purpose
- Evaluate
- Reflection
- Summarize
Related Resources
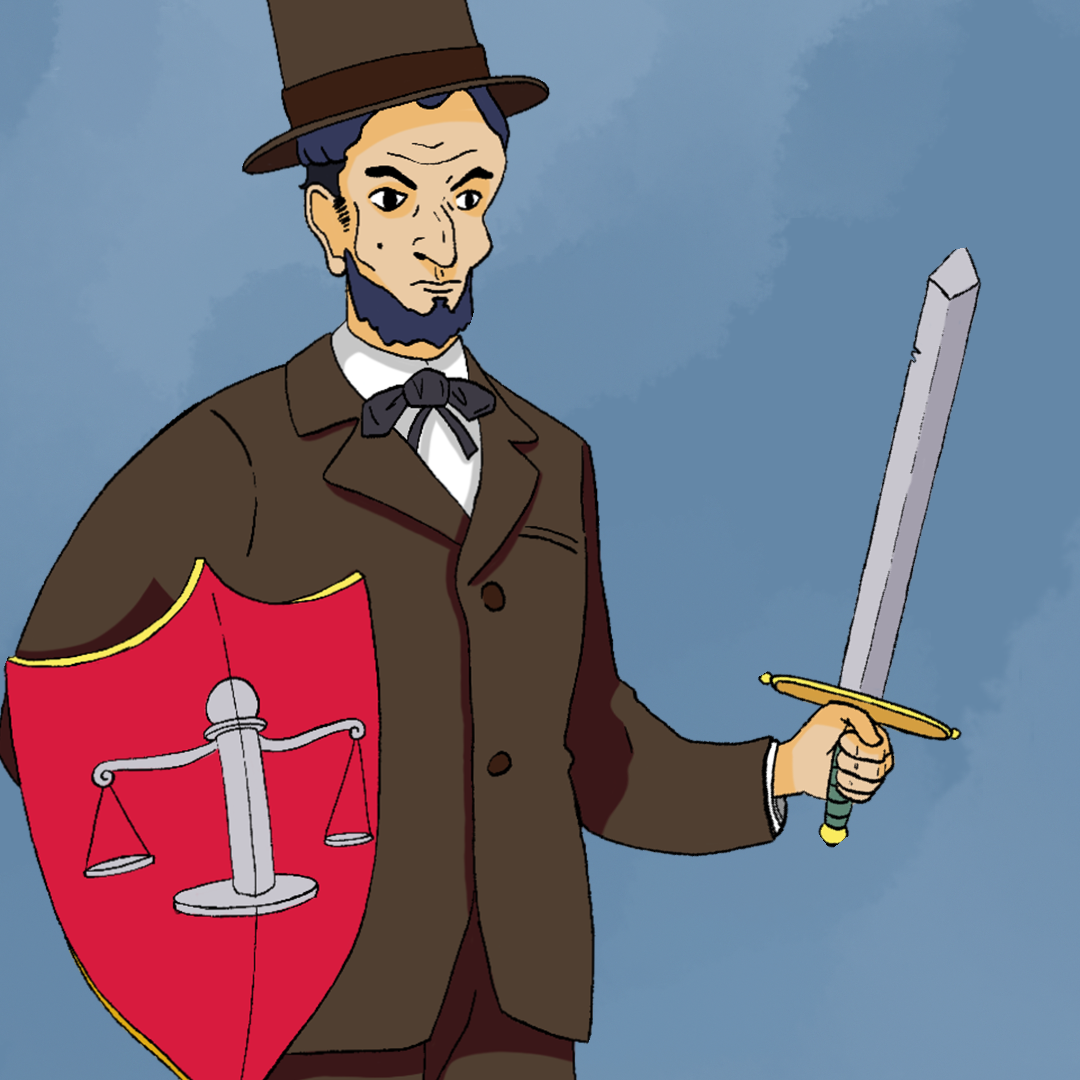 Unpacking the 14th Amendment: Citizenship and Constitutional Rights
5E Lesson
This work is licensed under a Creative Commons CC BY-SA 4.0 License.
Report copyright infringement »