Card

Timeline
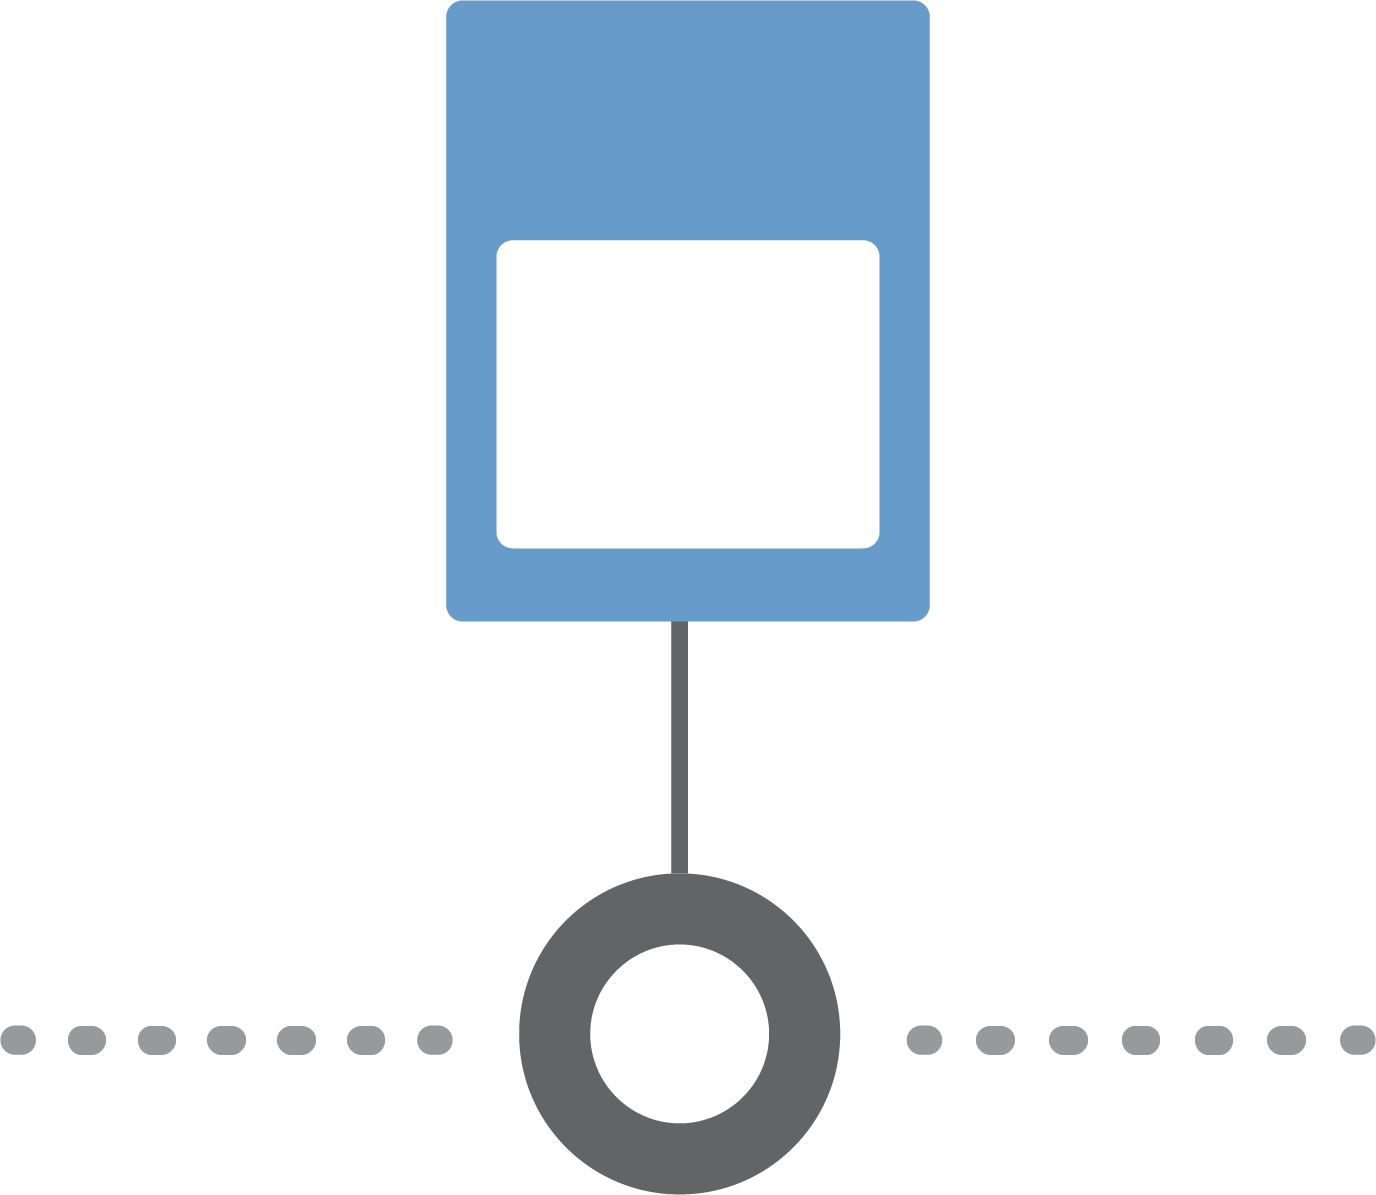
Timeline allows students to create a graphical representation of an event or process by displaying items sequentially along a line.
Timeline
Summary
Use Timeline to display a series of events or steps in a process. This tool provides a line that connects a start and end point. Teachers and students can add points of interest along the timeline, which can include a label, description, and image. The timelines can also be exported and later reimported to the tool.
Procedure
Go to Timeline.
Enter your name and project title on the empty boxes.
Then, select “Start” to begin editing your timeline, or “Open” to import a previously saved timeline.
To add an item to the timeline, select a point along the horizontal line.
Enter a label and description in the box that pops up. To add an image, simply drag and drop the image file onto the box.
Once finished, select “Done”.
To customize the item's position in relation to the timeline, drag and drop the item box to any point on the screen.
Add more items as desired.
Once finished, select any of the corresponding buttons above the timeline to print, export the timeline as a PDF file, or save the timeline as a downloadable .json file that can be imported later as addressed in step 3.
http://interactives.readwritethink.org/timeline

