
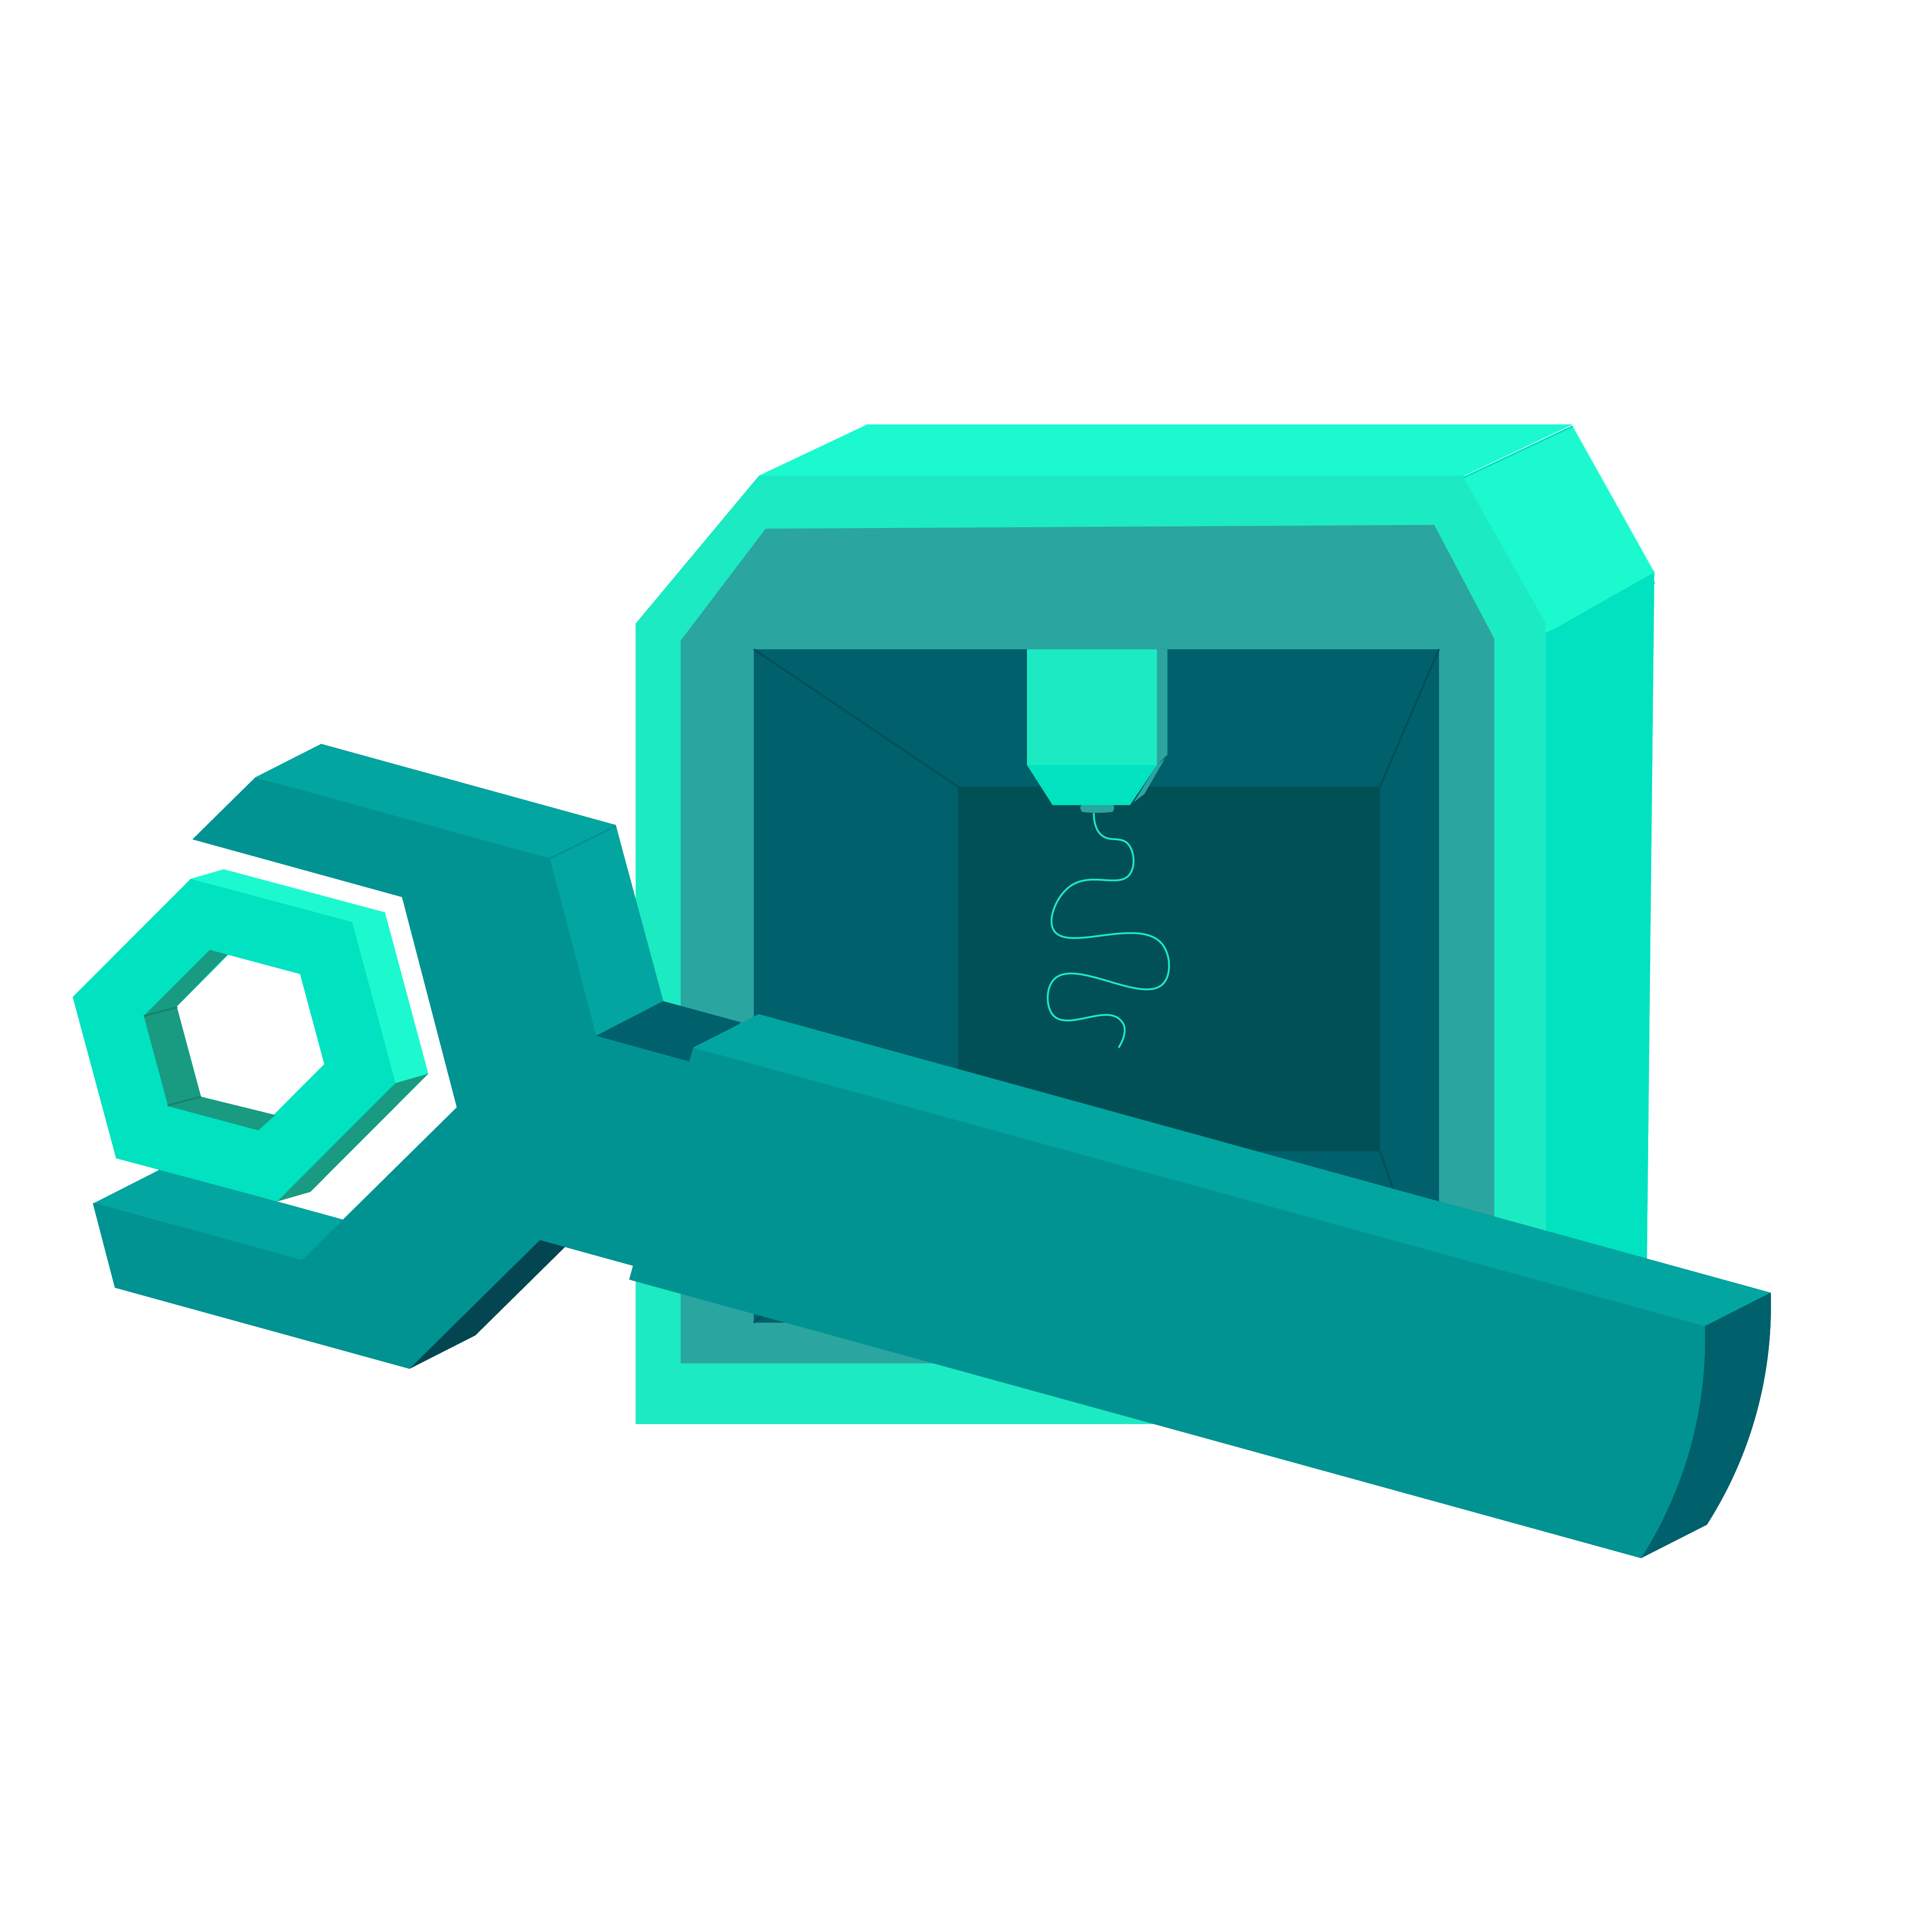
Summary
Students will discover one of the primary purposes of 3D printing is the ability to create something you need, when you need it. They will use the free online platform Tinkercad to develop their understanding of 3D modeling and design. Based on that understanding, they will work in groups to complete an authentic learning challenge, designing a wrench that will fit a specific bolt. Students will 3D print and test their finished model reflecting on the process and what they would change in the future.
Essential Question(s)
Why do people use 3D printers?
Snapshot
Engage
Students reflect on the purpose of 3D printing by sharing what they know about 3D printing and discussing why people do 3D printing. After viewing a video on 3D printing prosthetic hands, they talk about other possible purposes for 3D printing.
Explore
Students complete a Tinkercad scavenger hunt to learn the basics of 3D design.
Explain
Students observe existing 3D models of a wrench and compare and contrast their features.
Extend
Groups of students are given a bolt to measure and are challenged to modify an existing 3D model of a wrench to fit their bolt.
Evaluate
Students print and test their wrench, reflecting on what went well and what they would want to change in their next design.
Materials
Tinkercad Scavenger Hunt (attached; one per student)
Design Challenge handout (attached; one per group)
Design Notes and Revisions handout (attached; one per group)
Lesson Slides (attached)
3D printer
Filament
Student devices
Bolts (one per group)
Pencils or pens
Whiteboard or chart paper
Engage
15 Minute(s)
Introduce students to the essential question and learning objective for the lesson using slides 2-4. Display slide 5. Using the T-Chart strategy, have students divide a paper in two. On one side, have them identify what they know about 3D printing and why people use 3D printing on the other. After the activity, have students share out with the class and compile their list of answers on a whiteboard or chart paper. Display slide 6 and play the How 3-D Printed Prosthetic Hands Are Changing These Kids’ Lives video.
Instruct the students to revisit their T-Chart and add any new information that they learned from the video.
Explore
35 Minute(s)
Display slide 7. Distribute the 3D Printing Tinkercad Scavenger Hunt handout and instruct students to follow the instructions on the page. The students should complete every step.
Following the activity, have students debrief sharing what they liked about the platform and what they found to be difficult.
Explain
20 Minute(s)
Display slide 8. Instruct the students to break into groups 2–3. Distribute a copy of the Design Challenge handout to each group.
Have the students complete Part 1 of the handout.
After every student has completed the first three steps, invite some to share their observations with the class. Ask the groups to share what they noticed about the different designs and what made them decide to pick the one they did for remixing.
Extend
30 Minute(s)
Display slide 9. Instruct the groups to now complete Part 2 of the Design Challenge handout. As they are doing this, move from station to station ensuring that no students are designing below the plate or making errors that will cause their wrench to print incorrectly by checking their work from all angles.
Evaluate
40 Minute(s)
Display slide 10. Test the printed wrenches with the bolts and have students write notes on their observations on the Design Notes and Revisions handout. Remind the students that our goal is to learn about the design process, and that sometimes we have to revisit things and refine them. A wrench that doesn't fit the bolt isn't a failure, but a step in the process. In their notes, have them answer the following questions:
What about this design works?
What about this design doesn’t work?
If I were to refine the design, what would I do differently?
After they have completed this task, display slide 11. Give students time to refine their wrench designs in Tinkercad and have them document any changes they made on their handout. Also instruct them to write a short reflection on why they decided these changes were the best option for their wrench. The handout can be used to check their understanding of the design process and their ability to analyze and modify their work.
Resources
K20 Center. (n.d.). T-Chart. Strategies. https://learn.k20center.ou.edu/strategy/86
K20 Center. (n.d.). Tinkercad. Tech Tools. https://learn.k20center.ou.edu/tech-tool/2166
National Geographic. (2015). How 3-D-Printed Prosthetic Hands Are Changing These Kids’ Lives | Short Film Showcase [Video]. YouTube. https://www.youtube.com/watch?v=Cl8ijPGEKO8


