
Summary
Learning about three-dimensional (3D) shapes opens up a new world to students. In this lesson, students will become aware that not all shapes are created equal, gain a better understanding of the attributes of basic 3D shapes, and practice identifying and naming shapes. Students will watch an introduction video, discuss shapes and their distinguishing attributes, and sort shapes to check for understanding.
Essential Question(s)
How do the attributes of a 3D shape help to identify the name of a shape?
Snapshot
Engage
Students are introduced to 3D shapes while viewing and discussing the wordless picture book Cubes, Cones, Cylinders & Spheres by Tana Hoban.
Explore
Using 3D solid shapes that have been placed on each table, students hold, touch, and talk about how the solid figures are like the shapes that were shown in the book
Explain
Students manipulate 3D shapes that are available in the classroom. They hold, turn, look at, build with, and feel the block models that are available. The attributes of the shapes are discussed and vocabulary is introduced. During this discussion time, shape posters are used to help the class construct an anchor chart showing the different attributes of each shape.
Extend
Students play a show and tell game by showing their picture card to their classmates and saying out loud, "My picture is a/an ________. It is most like the shape of a _________ because _______________." Classmates agree or disagree with justification for their thinking.
Evaluate
Students show their learning by completing a cut-and-paste activity matching real-world objects to 3D shapes.
Materials
Cubes, Cones, Cylinders and Spheres by Tana Hoban (picture book or video)
3D Shape Posters (attached)
3D Shape Picture Cards (attached)
Vocabulary Word Wall Words (attached)
Sorting Activity (attached)
Anchor Chart paper
Engage
20 Minute(s)
Transition through each page, encouraging conversation and listening for describing words.
Explore
15 Minute(s)
After finishing the book, have students describe pictures they remember seeing in the story. Once everyone has had a chance to share, send students back to their desks or cooperative learning tables.
Using 3D solid shapes that have been placed on each table, let the students hold, touch, and talk about how the solid figures are like the shapes that were shown in the book. Guide the conversation by using Depth of Knowledge (DOK) Question Stems and allowing students to discuss with their table partners what they see with each shape.Encourage students to look for similarities and differences when comparing shapes. Walk around each table and listen to what students share with one another.
Explain
20 Minute(s)
After the students have had ample time to explore the 3D solids, have students come back together as a group (such as on their carpet spots).
Introduce the individual posters of each 3D shape. Using the pictures on each poster, discuss the attributes of a cube, cone, cylinder, and sphere using proper vocabulary (a cube has six equal square-shaped sides called faces, eight vertices, and 12 edges, etc.). Students can refer to the posters of the solid shapes while you hold up each solid shape being discussed and point out the attributes. Ask students to point to each shape's face, vertices, edge, etc. Students can help classmates identify attributes of shapes during this time using proper vocabulary. During this discussion time, place the vocabulary word cards on the board and use the posters to help you construct an Anchor Chart showing the different attributes of each shape.
Students will begin to discuss the shapes (if they don't do this naturally, you can encourage and shift the conversation easily by asking simple questions about their understanding of the connections between real-world objects and the 3D solid shapes you are discussing). Observing verbal usage of vocabulary and descriptions during this time will help assess students' comprehension of the attributes of shapes.
Extend
25 Minute(s)
After each student has had time to review and revisit the attributes of each shape, have them sit in a large circle on the floor. In the center of the circle, place a large label for each of the 3D shapes introduced: cube, cylinder, sphere, and cone.
Give one student at a time their picture card. The student will go to the middle of the circle, show their picture card to their classmates and say out loud, "My picture is a/an ________. It is most like the shape of a _________ because _______________." For example, "My picture is a can of soup. It is most like the shape of a cylinder because it has two flat surfaces, and the edges are curved."
The student will then ask their classmates if they agree or disagree. Check to see if all agree by asking for a thumbs up or thumbs down. If there are any students in disagreement (thumbs down), the student who is sharing their shape will ask them to justify and help them find the proper identification.
Continue this activity until each student has had an opportunity to share and identify their shape.
Evaluate
15 Minute(s)
Preferably in a whole group, begin with a quick review of what students have learned about 3D shapes. Then, discuss as much or as little as you feel your group needs. Encourage proper vocabulary (vertices, vertex, face(s), edge(s), etc.) when students are speaking about what they have learned.
After reflecting on what the students have learned about 3D shapes, introduce the 3D sort assessment. Each student will complete the assessment by themselves using the attached 3D Shape Sorting Activity handout. Model the activity for students by showing them that they will cut out the pictures of the real-world items and identify the attributes of 3D shapes that the pictures have. Then, they should glue the pictures under the heading of a cone, sphere, cylinder, or cube. Students will do this with all the pictures until they have glued each picture onto a place on the sorting mat under the heading that they have determined best fits their pictures.
Opportunities for Advanced Learners
Option #1: Encourage students to draw pictures instead of using the pre-made pictures to complete the sorting activity.
Option #2: Squiggles could be used to start a drawing of a shape that they could turn into a real-life object that is a 3D shape. Students can label and write about their real-life thing and explain where it could be found and how it is used. They can present this to the class if they choose to.
Option #3: Students can take their iPad and take pictures at school, outside, or at their homes of real-life objects that are 3D shapes. Then they report their findings to the teacher or class. Finally, challenge them to find one or more of each shape taught.
Option #4: Students can search through magazines, cut out pictures of objects that match attributes of 3D shapes, and make a 3D shape collage of the items.
Resources
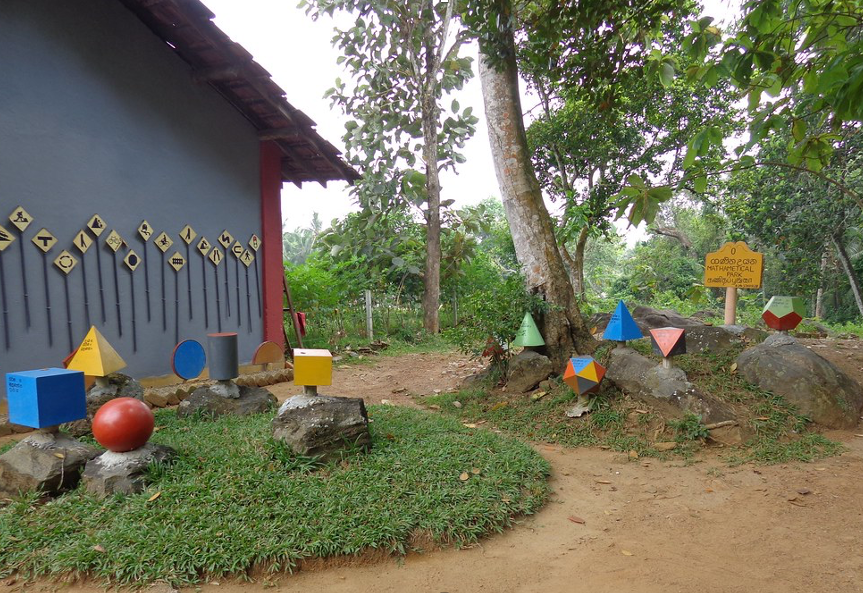
Deepa Srikantaiah. (2013). "Geometric shapes in a math park in Sri Lanka [Photograph]. Global Partnership for Education. https://www.flickr.com/photos/gpforeducation/8578145380/in/photostream/
Hoban, T. (Sept. 19, 2000). Cubes, Cones, Cylinders, & Spheres. Greenwillow Books.
K20 Center. (n.d.). DOK Question Stems. Strategies. https://learn.k20center.ou.edu/strategy/170
K20 Center. (n.d.). Anchor Charts. Strategies. https://learn.k20center.ou.edu/strategy/58
K20 Center. (n.d.). Squiggles. Strategies. https://learn.k20center.ou.edu/strategy/936