
Summary
This is Part 3 of the Where In The World Map Study Unit. This final lesson complements Lesson 1: Where in the World? Map Study Lesson #1 and Lesson 2: Where in the World Do We Find the Things We Need? Map Study Lesson #2. In this lesson, students use Google Earth to locate and observe features found at places around the world. A continued focus on natural and man-made resources is continued as they explore these different locations. Later in the lesson, students explore and describe the characteristics of one geographic feature of their choosing.
Essential Question(s)
What makes places unique and different? Why is having an understanding of maps, globes, resources, and geographic features important?
Snapshot
Engage
Students “travel” to different places around the world (local and global) using Google Earth. While using the basic Google Earth tools, students focus on the man-made and natural resources they notice while virtually visiting these different locations.
Explore
Students explore the virtual world by hunting for geographic features using Google Earth. Students record their findings at different locations to refer to later in the lesson.
Explain
Students share their findings from Google Earth during a whole-class discussion. Students record their discoveries on an Anchor Chart.
Extend
Students go on a scavenger hunt to find geographic features using fiction and nonfiction texts. Students use post-it notes to record the title of the book, to identify both the geographic feature and its characteristics. They post their sticky notes on the Anchor Chart.
Evaluate
Students use the “Top Ten Things” strategy to create a list of the top ten (or five, if that works better) important things they learned about geographical features. Students can also be evaluated on their sticky notes in a reader’s workshop or by asking individual students open-ended questions.
Materials
Geographic Features Recording Sheet ( attached)
Finding a Geographical Feature (attached)
Unusual Google Earth Explorations (attached; optional)
Slide deck of photo slides for location photos to print (or print from the PDF version, Photo Slides of Geographic Features (attached))
Computers for teacher
Digital devices for students
Access to Google Earth
Sticky Notes
Chart pages
Engage
30 Minute(s)
Introduce students to the essential questions of the lesson:
What makes places unique and different?
Why is having an understanding of maps, globes, resources, and geographic features important:
After a brief discussion of the essential questions, introduce students to the lesson objectives:
Identify and locate basic landforms, bodies of water, continents, and oceans on a map;
Describe a variety of the earth’s natural resources and ways in which people use them;
Use Google Earth to locate landforms, bodies of water, continents and oceans, and specific geographic features.
Begin the lesson by using Google Earth to play an “I Spy” game. While showing students a few different locations on Google Earth, ask “I Spy” questions. Possible statements might include:
I Spy a natural resource. What is it?
I Spy a blue natural resource. What is it?
I Spy a man-made resource.
I Spy something high, something brown, something with green lines, something jagged, etc.
After a few minutes of “I Spy,” ask students to suggest other locations of interest. For example, a student may be interested in Makaha Beach, the North Pole, or their local school. Encourage them to travel virtually to those locations.
As they visit each location, guide students by first having them focus on the geographic features they see:
Mountains
Lakes
Valleys
Glaciers
Grasslands
Meadows
Alpine tundra
Plains
Rolling hills
Rivers
As students express what they see, informally repeat the correct term for that feature. Have students point out natural and man-made resources at each of the locations.
Ask students to think critically about aspects of natural and man-made resources. Ask them to explore some of the other features that Google Earth can show such as latitude and longitude coordinates. Ask students to demonstrate their familiarity with the vocabulary words they were introduced to in Lesson Parts 1 and 2:
Refer to these phenomena as geographic features. Add the title Geographic Features to the Anchor Chart. Inform students that landforms like mountains, oceans, and volcanoes are geographic features. Ask students to name other geographic features they are familiar with and add these to the Chart.
Explore
40 Minute(s)
Ask students to complete the Geographic Features Recording Sheet, which guides the students to search specific land features throughout the world.
Explain
45 Minute(s)
Show the class a chart that has pictures of the features they visited while exploring using Google Earth. Students will need to have their Geographic Features Recording Sheet available to refer to. Go through each location, asking students to explain what they saw at each location.
As students share out, record features and characteristics next to its picture. Ask the class what name is given to each feature. For example, after showing a picture of Sakurajima in Japan, students may point out there are high and low areas. Tell students the high area in this location is a volcano and the low area is a canyon. Other students may make personal connections by recognizing that they have seen canyons and volcanoes on trips or in books. Together the class will determine that volcanoes and canyons are geographic features.
Extend
45 Minute(s)
Students will extend their learning of geographic features by going on a scavenger hunt to find geographic features in fiction and nonfiction texts. Then have students choose one geographic feature to focus on. Using the Finding A Geographical Feature handout, have students record the title of the book they found the feature in, the name of the geographic feature, where it is located, its characteristics, and finally a drawing of the feature. Students can refer to the Anchor Chart for reminders and ideas.
Students can tape their recording sheets to the Anchor Chart next to the picture that best matches their description.
Additional Options for Extended Learning
To strengthen understanding of geographical features, have students continue to point out geographical features in stories they read throughout the year.
Ask students to explain how they know a feature is a mountain, canyon, valley, and so on as they come across these features in other content areas.
Have students make connections between their lives and the new content. For example, while examining Google Earth, students may ask if they can look up home addresses. They can then be encouraged to examine the geographic features surrounding their homes. Conversations about their street names such as “Makaha Valley Road” and the surrounding areas (valleys, mountains, oceans) can become a key conversation in the classroom.
Have students use the Unusual Places on Earth handout to explore exotic locations by doing unique scavenger hunt.
Evaluate
30 Minute(s)
Have students revisit the essential questions:
What makes places unique and different?
Why is having an understanding of maps, globes, resources, and geographic features important?
Use the Top Ten Things I Learned handout. Have each student create a list of the top ten (or five, if that works better) important things they have learned about the topic. Ask students to share their lists with a partner and add or revise their lists before turning in their work. Let students know that they will be asked to verbally explain one or two of the items in more depth during small group time.
Resources
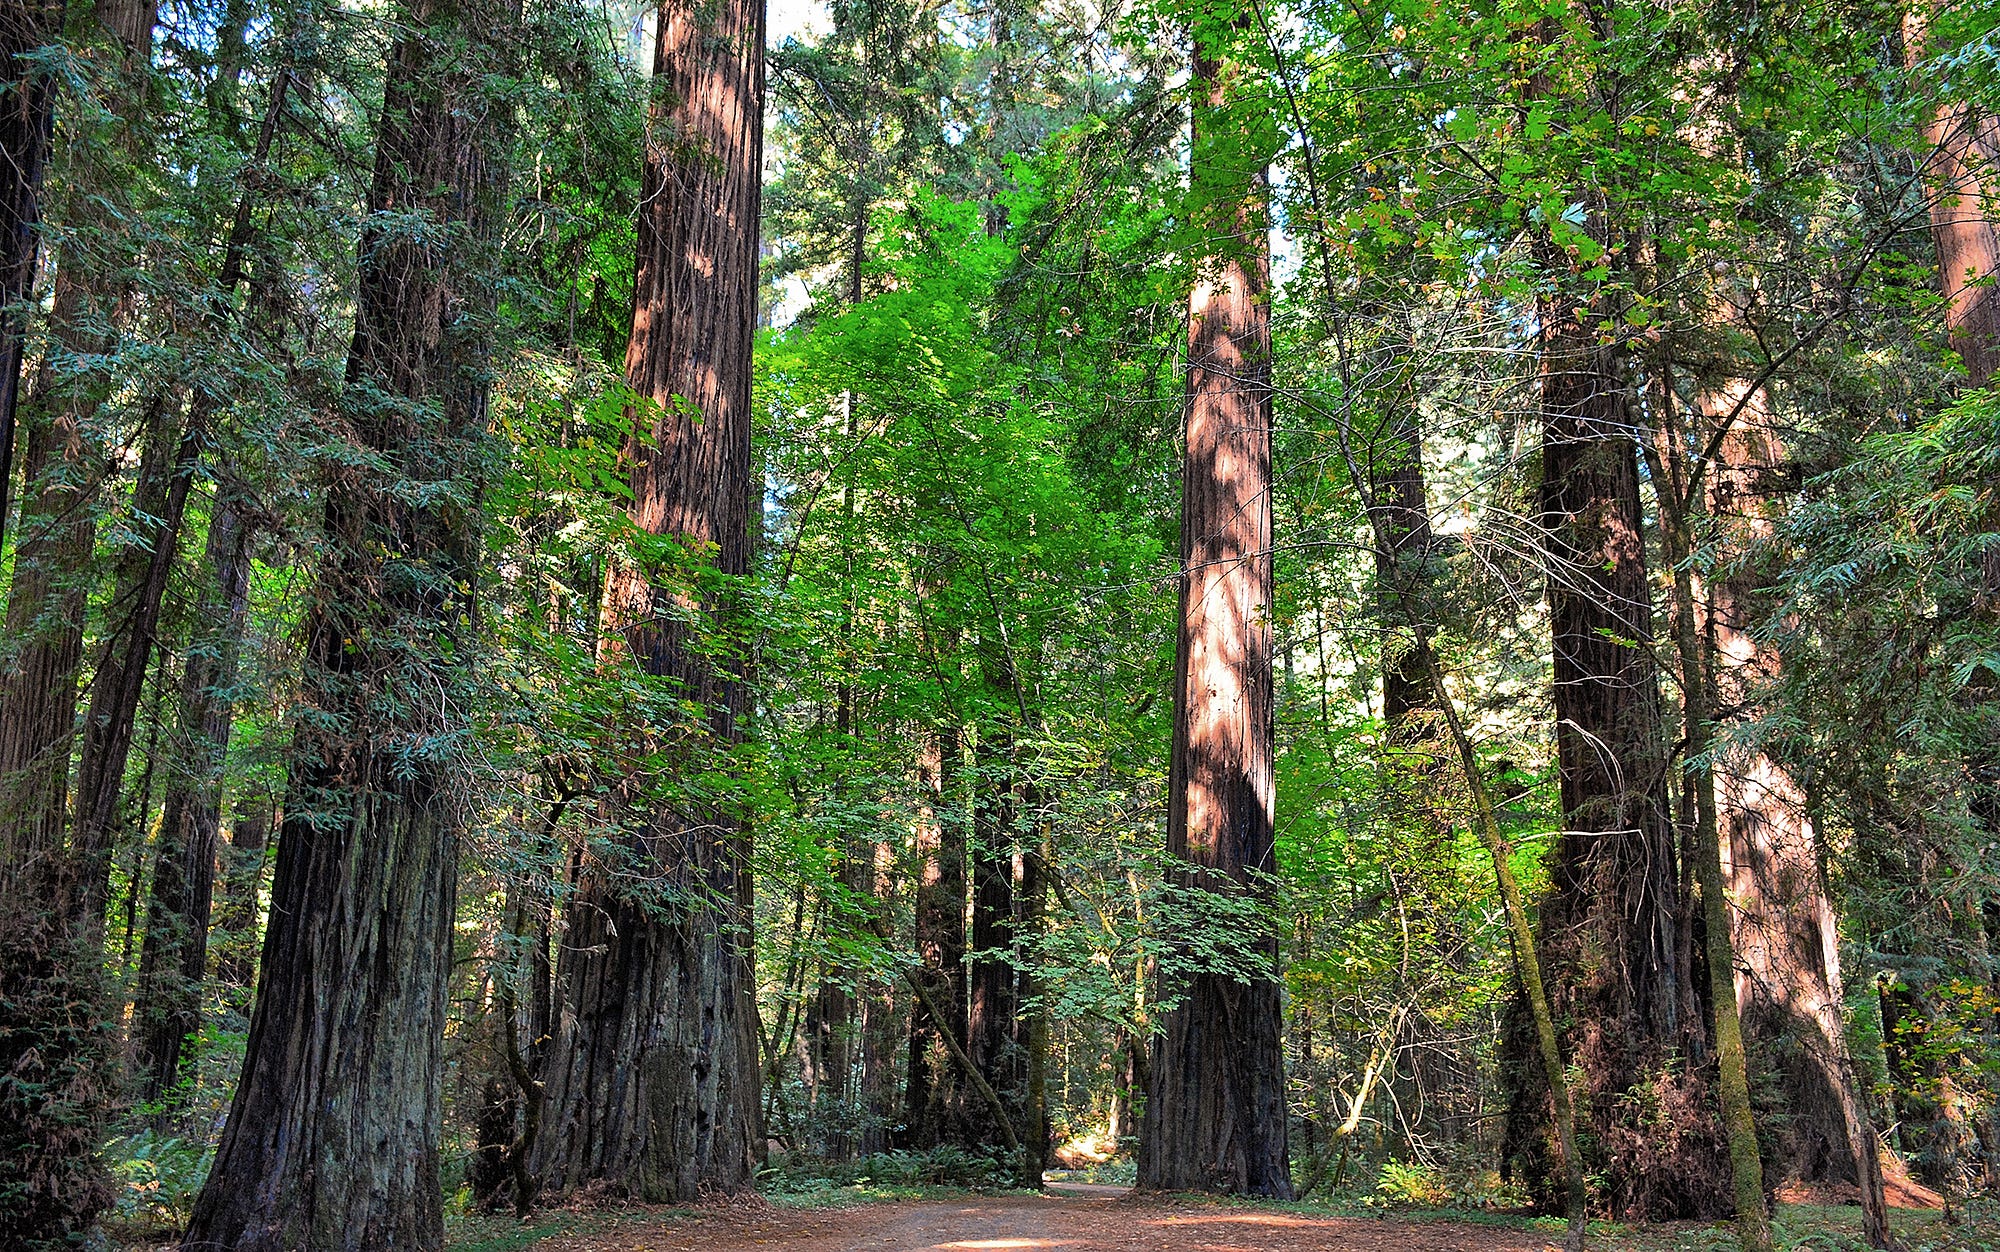
CDN Images. (n.d.). Redwood National Park. [Digital image]. https://cdn-images-1.medium.com/max/2000/1*18Zts411Eit_dm7CyqLurA.jpeg
Digital Commonwealth. (n.d.). Lake George, New York. [Postcard/Digital image]. Cliff Smith YMCA Postcard Collection. https://ark.digitalcommonwealth.org/ark:/50959/vm416w818
Flickr.com. (n.d.). Baja California Peninsula. [Aerial Photo]. https://live.staticflickr.com/7155/6660030421_4d5cb5cd2f_b.jpg
Flicker. [2008]. The Red Sea. [Digital Image]. https://flickr.com/photos/st-stev/2432121049/
Google Earth. (n.d.). Aerial photographs. https://www.google.com/earth/
K20 Center. (n.d.). Anchor charts. Strategies. https://learn.k20center.ou.edu/strategy/58
K20 Center. (2021, April 23). Where In The World Do We Find The Things We Need? Map Study Lesson #2. 5E Lessons. https://learn.k20center.ou.edu/lesson/1292
K20 Center. (2021, April 23). Where In The World? Map Study Lesson #1. 5E Lessons. https://learn.k20center.ou.edu/lesson/1293
Picryl.com (n.d.) Wood Valley, Hawaii. [Digital image]. https://cdn4.picryl.com/photo/2019/09/23/storm-in-the-mountains-hawaii-fae0dd-1024.jpg
Pixabay. (n.d.). Globe. [Image]. https://pixabay.com/vectors/earth-globe-planet-world-147591/
Travel in USA. (n.d.). The Narrows, Utah. [Digital image]. https://cdn4.picryl.com/photo/2019/09/23/storm-in-the-mountains-hawaii-fae0dd-1024.jpg
Virtual Globe Trotting. (n.d.). Ceremonial South Pole. Antarctica. [Aerial image]. Google Maps. https://virtualglobetrotting.com/map/ceremonial-south-pole/view/google/
Wikimedia. (n.d.). Grand Canyon National Park. [Digital image]. https://upload.wikimedia.org/wikipedia/commons/0/04/-conservationlands15_Social_Media_Takeover%2C_Feb_15th%2C_BLM_Winter_Bucket_List%2C_Grand_Canyon-Parashant_National_Monument_in_Arizona_for_Its_Dark_Sky_Park_Status_(16353386300).jpg
.jpg)
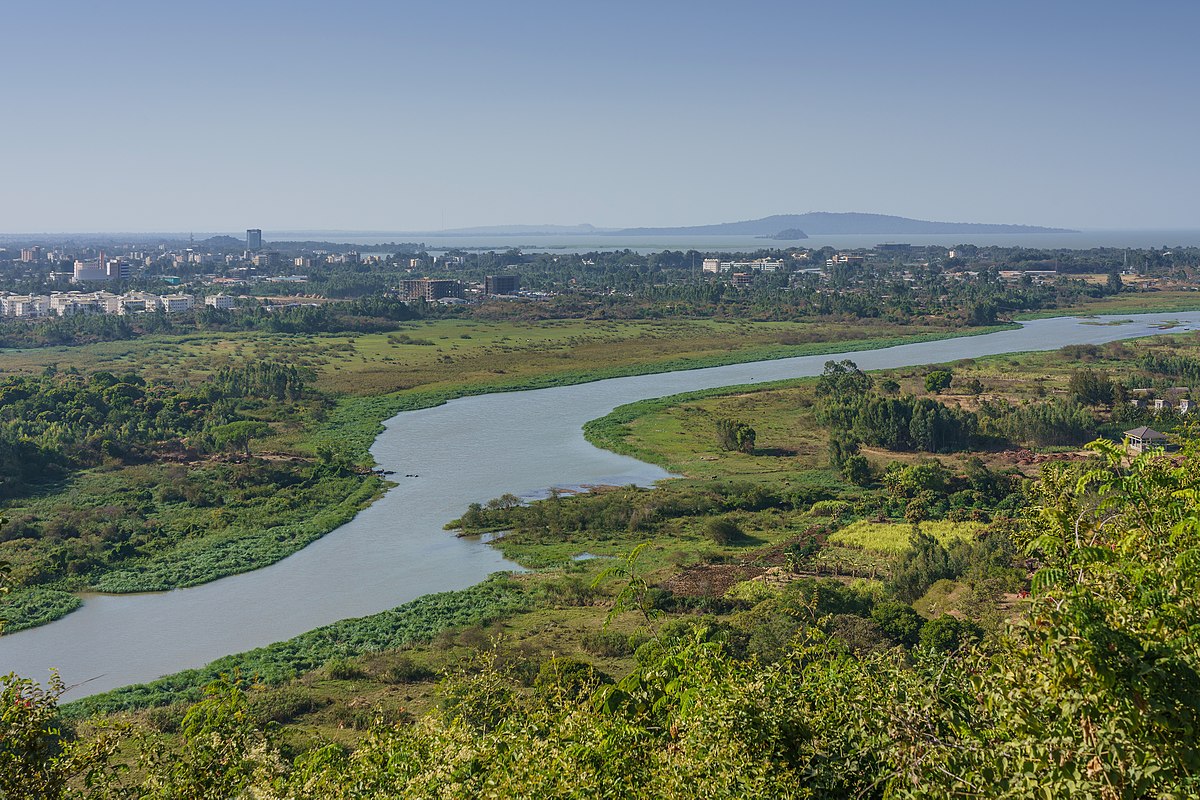
Wikimedia. (n.d.). Nile River Basin. Bahir Dar. [Digital image]. https://upload.wikimedia.org/wikipedia/commons/thumb/0/0b/ET_Bahir_Dar_asv2018-02_img32_view_from_Bezawit.jpg/1200px-ET_Bahir_Dar_asv2018-02_img32_view_from_Bezawit.jpg
Wikimedia. (n.d.). Sahara. Merzouga. [Digital image]. https://upload.wikimedia.org/wikipedia/commons/a/a9/Merzouga_sahara.jpg
Wikimedia. (n.d.). Sakurajima, Japan. [Digital image]. https://upload.wikimedia.org/wikipedia/commons/0/02/Kagoshima_cityscape_against_the_background_of_Sakurajima_volcano._Japan%2C_East_Asia.jpg