

Summary
This lesson validates the concept of mole to mole ratios within a chemical equation. It is a lab that uses an indirect variable (in this case, temperature change) to determine optimal ratios of reactants, thus the ratio of reactants that create the most products (which is the mole to mole ratio). This can be used in the unit of mole ratios or as review later in the year, but the concept of a mole and the relationship between moles and mass should already have been introduced.
Essential Question(s)
How can we best measure that which we cannot directly see?
Snapshot
Engage
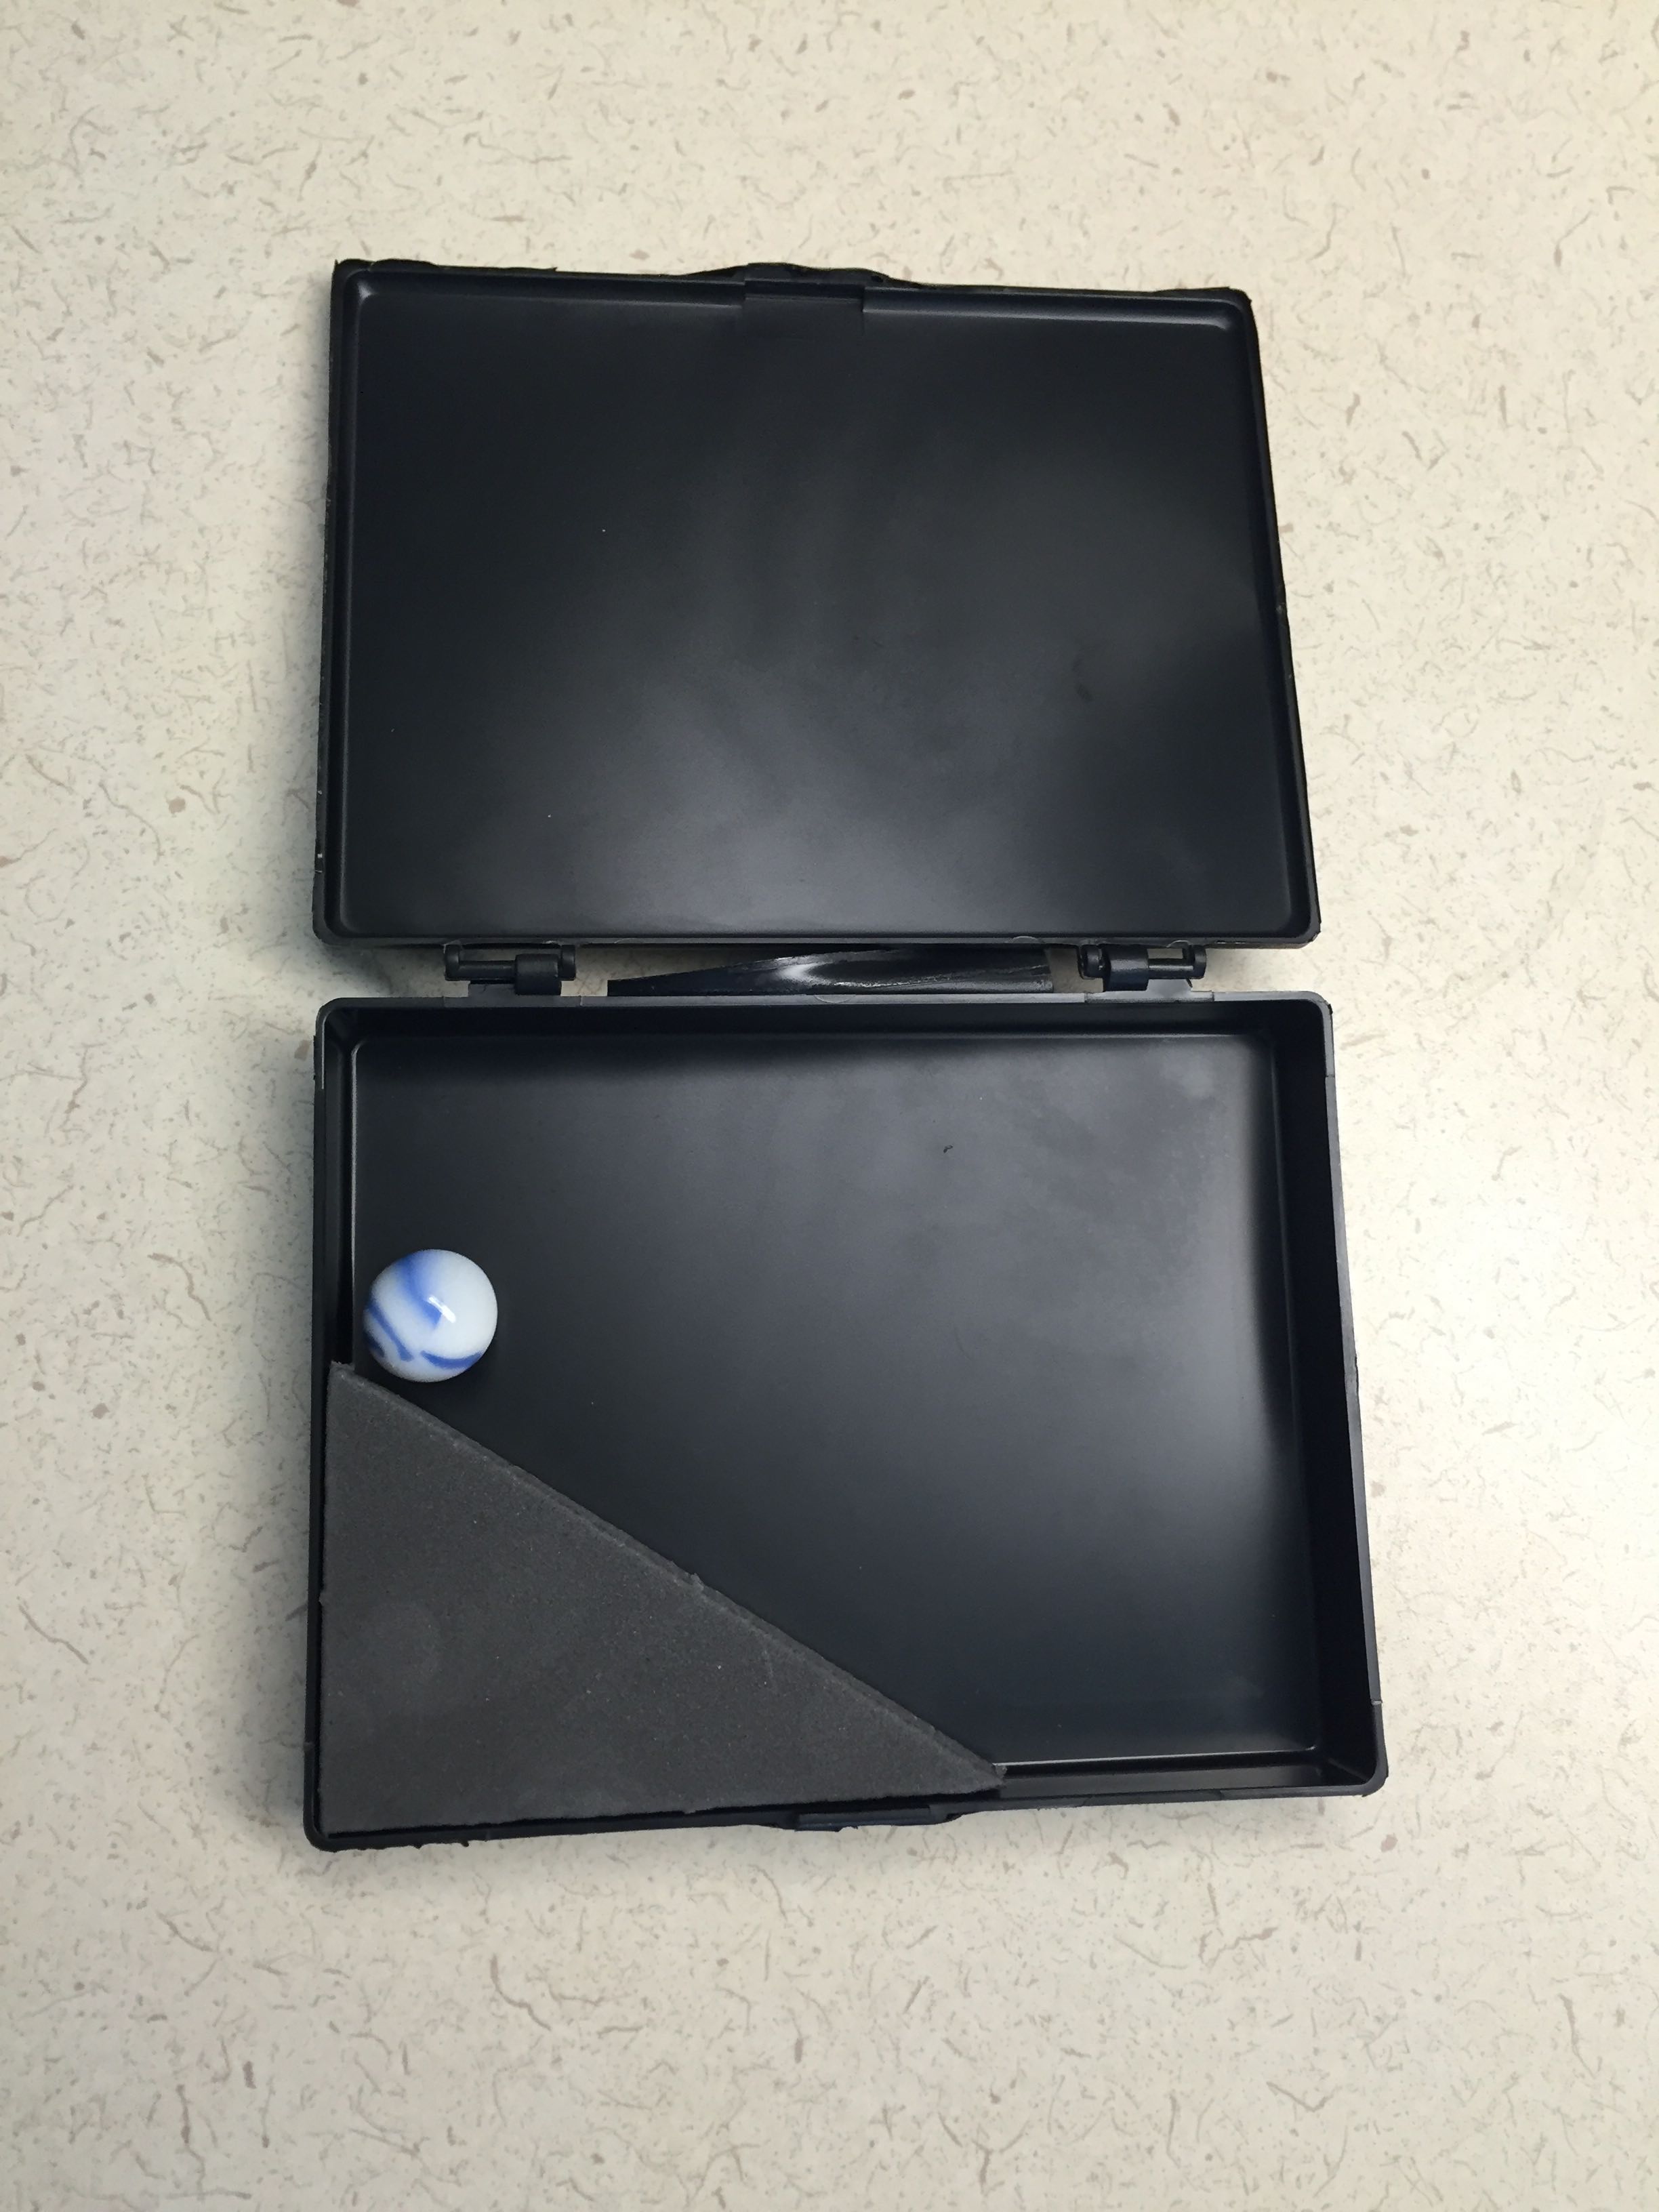
Students try to draw an image of the inside of a box without seeing inside the box.
Explore
Students conduct a lab exploring different volume ratios and measure temperature change.
Explain
Students process the data from the lab and share their findings.
Extend
Students read and construct a metaphor from an article on the history of Avogadro's Hypothesis.
Evaluate
Students display their completed metaphor from Extend.
Materials
Lesson Slides (attached)
Mole-Mole Ratio Lab (attached; one per student)
Mole-Mole Ratio Lab, Teacher (attached)
What Is in the Black Box? handout (attached; one per group)
Avogadro’s Hypothesis and the Duhemian Pitfall (article; attached and linked below)
Black box
Marble
Foam
Tape
Sodium hydroxide
Sodium thiosulfate
Bleach (sodium hypochlorite)
Temperature probe and collection device
Styrofoam cups and lids
Pipettes
Graduated cylinder
Ring stand and clamp
Large strips of paper (for Evaluate)
Engage
A set of black boxes will be out for students when they walk in. Assign each pair a black box. Make sure the objective, "What is the map within the box?" is written on the board. Before students start, ask them to create questions using the Question Generating strategy.
Pass out the attached What Is in the Black Box? handout. Have students brainstorm questions about any barriers or challenges that will prevent them from completing the task, which is: Figure out what is inside the box without opening it. Draw a diagram on your handout.
Tell them that those questions will be presented to the whole group and possible answers will be discussed. Suggest that students tilt and rotate the box, listening to how the marble inside rolls around and listening for any barriers that stop the marble's progress. Assign them to draw what they think is inside the box on the handout.

Explore
Pre-lab setup:
For advanced/honors students, consider having them do their own full set-up and clean-up. With this option, little teacher preparation is needed. Just make sure the supplies exist (if possible, don't even get them out of the closet or storage—have the students do that, just like real scientists).
If you're setting the lab up for the students, both solutions and lab stations need to be considered. The solutions aren't time sensitive, so you can do them the day before with no problem.
Prepare the 0.50 M NaClO solution by diluting 745 mL of bleach (if it's labeled as 5.25% NaClO by mass) with distilled water to get a total of 1.0 L (each group will probably use about 200 mL, so adjust the ratios as needed). If using Ultra bleach (6% NaClO by mass), use 653 mL of bleach and add enough distilled water to bring the entire solution to 1.0 L.
Prepare the 0.50 M Na2S2O3 in three steps (the sodium thiosulfate produces the best result when created in a basic solution). First, dissolve 124 g of Na2S2O3 * 5H2O (or 79.1 g of anhydrous Na2S2O3) in 500 mL of distilled water. Then, add 8 g of solid NaOH and stir the mixture until all dissolved. Finally, add enough distilled water to bring the total volume to 1.0 L (once again, each group will probably use around 200 mL, so adjust as needed).
Ensure that each station has a temperature probe and collection device (or a thermometer if you don't have LabQuests, EasyLinks, or CBLs), pipettes (two per station, one for each reactant), two styrofoam cups (or a cup and lid), and a graduated cylinder (calibrated at least to 1 mL). If available, provide a ring stand with utility clamp to hold the temperature probe. It is not necessary if not available.
Day of lab:
Assign students to groups no greater than three, if possible. This is to make sure conversations are happening and each student is still involved and active.
Using the strategy Thinking Notes, have the students read through the procedures and pre-lab questions, putting stars next to steps that directly relate to data collection, an exclamation mark next to details about measurements (for example, the specific volume, or not just initial temperature but temperature readings throughout each trial), and question marks where the procedures are confusing or unclear to them.
Have the lab groups discuss and answer the pre-lab questions, reflecting back to the procedures to add stars or exclamation points and/or to see if the answers clear up confusion.
Once students have finished their pre-lab questions and found resolutions to the confusing parts of the procedure, direct them to their lab stations and instruct them to get started collecting data.
Walk among the groups to help troubleshoot, but try not to take over if it isn't perfect; students need to learn the subtle art of exactness through their own experiences with only gentle prompts from the teacher.
Explain to students that they will be combining different ratios of reactants, starting with equal volumes of each (thus a 1:1 ratio) and keeping the total volume the same but shifting the amount of each.
If students are stuck with what amounts they should choose, nudge them in the direction that would give them less than 10. Whole number ratios, like 20 mL of NaClO and 30 mL of Na2S2O3 is a 2:3 ratio, but 12 mL of one and 38 mL of the other is a 6:19 ratio. If the students want to try the weird ratios, though, let them. They can still get usable data points from them; they just won't be the right answer.
Explain
Once students have collected at least seven different trials, have the groups return to their seats to process their data. Have them read the post-lab questions as a guide through the process of determining the optimal mole:mole ratio. Also ask questions relating to auxiliary ideas (like limiting reactant and justifying equal total volumes for each trial).
When students are done, have them do the 4-2-1 strategy. Students, individually, will write down four conclusions that can be drawn from the lab. They will find a partner (who wasn't part of their original lab group), share their four conclusions, and together, they will decide what two are the most important conclusions. Then, make groups of four to decide which one conclusion is the most important (or insightful) of those the group has and have groups share these with the whole class.
Finally, have students do a 3-5 minute Quick Write over what they've learned, explaining the information in enough depth for someone who doesn't know it. Regroup students to share and discuss their quick writes. During this discussion, point out the essential question (written on the board), "How can we best measure what we cannot directly see?"
Have students relate what they've written to their response to the essential question, allowing students to add to their quick write and retain it as part of their notes.
Extend
Pass out a copy of the article Avogadro's Hypothesis and the Duhemian Pitfall (or use the attached Lesson Slides summarizing the article) for each student to read.
After they have read the story, have students pair up for Metaphorical Thinking. Prompt them connect to the struggles the scientists faced with experiences of their own and discuss this with their partner. Then, have them construct a metaphor or simile and give the rationale for their comparison.
After the pairs have discussed the assigned topic, have the students form groups of three or four with students different from their pair partner. Share their responses; then have groups share (with the whole class) those responses they felt were the most compelling or interesting.
Evaluate
Have students write their metaphors on large strips of paper. Hang them around the room and down the hall so students can read work from other classes. You never know, they may use them for inspiration when they're experiencing "the struggle."
Resources
Causey, R.L. (1971). Avogadro’s hypothesis and the Duhemian pitfall. Journal of Chemical Education, 48(6), 365-367. https://doi.org/10.1021/ed048p365
BrainKart.com. (n.d.). Avogadro Hypothesis. [Digital Image]. https://www.brainkart.com/article/Avogadro-Hypothesis_39645/
Darling, David. (n.d.). Amedeo Avogadro. [Digital Image]. https://www.daviddarling.info/encyclopedia/A/Avogadro.html
K20 Center. (n.d.). 4-2-1. Strategies. https://learn.k20center.ou.edu/strategy/142
K20 Center. (n.d.). Metaphorical thinking. Strategies. https://learn.k20center.ou.edu/strategy/146
K20 Center. (n.d.). Question generating. Strategies. https://learn.k20center.ou.edu/strategy/167
K20 Center. (n.d.). Quick write. Strategies. https://learn.k20center.ou.edu/strategy/1127
K20 Center. (n.d.). Thinking notes. https://learn.k20center.ou.edu/strategy/178
Vernier. (n.d.). Advanced chemistry with Vernier. http://www.vernier.com/products/books/chem-a/
Wikipedia. (n.d.). Andre-Marie Ampere. [Digital Image]. https://en.wikipedia.org/wiki/Andr%C3%A9-Marie_Amp%C3%A8re
Wikipedia. (n.d.). Jean-Baptiste Dumas. [Digital Image]. https://en.wikipedia.org/wiki/Jean-Baptiste_Dumas
Wikipedia. (n.d.). John Dalton. [Digital Image]. https://en.wikipedia.org/wiki/John_Dalton
Wikipedia. (n.d.). Jons Jacob Berzelius. [Digital Image]. https://en.wikipedia.org/wiki/J%C3%B6ns_Jacob_Berzelius
Wikipedia. (n.d.). John James Waterson. https://en.wikipedia.org/wiki/John_James_Waterston
Wikipedia. (n.d.). Marc Antoine August Gaudin. [Digital Image]. https://en.wikipedia.org/wiki/Marc_Antoine_Auguste_Gaudin
Wikipedia. (n.d.). Pierre Duhem. [Digital Image]. https://en.wikipedia.org/wiki/Pierre_Duhem
Wikipedia. (n.d.). Rudolf Clausius. [Digital Image]. https://en.wikipedia.org/wiki/Rudolf_Clausius
Wikipedia. (n.d.) Stanislao Cannizzaro. [Digital Image]. https://en.wikipedia.org/wiki/Stanislao_Cannizzaro