

Summary
In this lesson, students will explore how to find the surface area of prisms and pyramids. Students will discover the general formulas for finding surface area of prisms and pyramids and are introduced to the surface area of spheres and hemispheres. Students will apply what they learn to create a composite model and to a real-world situation.
Essential Question(s)
Why would it be useful to find the surface area?
Snapshot
Engage
Students use a modified Quick Write strategy to respond to the question "What would you need to know if you wanted to paint your room?" through Mentimeter.
Explore
Students discover the general formula for finding surface area of prisms and pyramids by analyzing patterns of solids they measure.
Explain
Students complete a foldable during class discussion on how to use the formulas for finding the surface area of prisms, pyramids, and other solids.
Extend
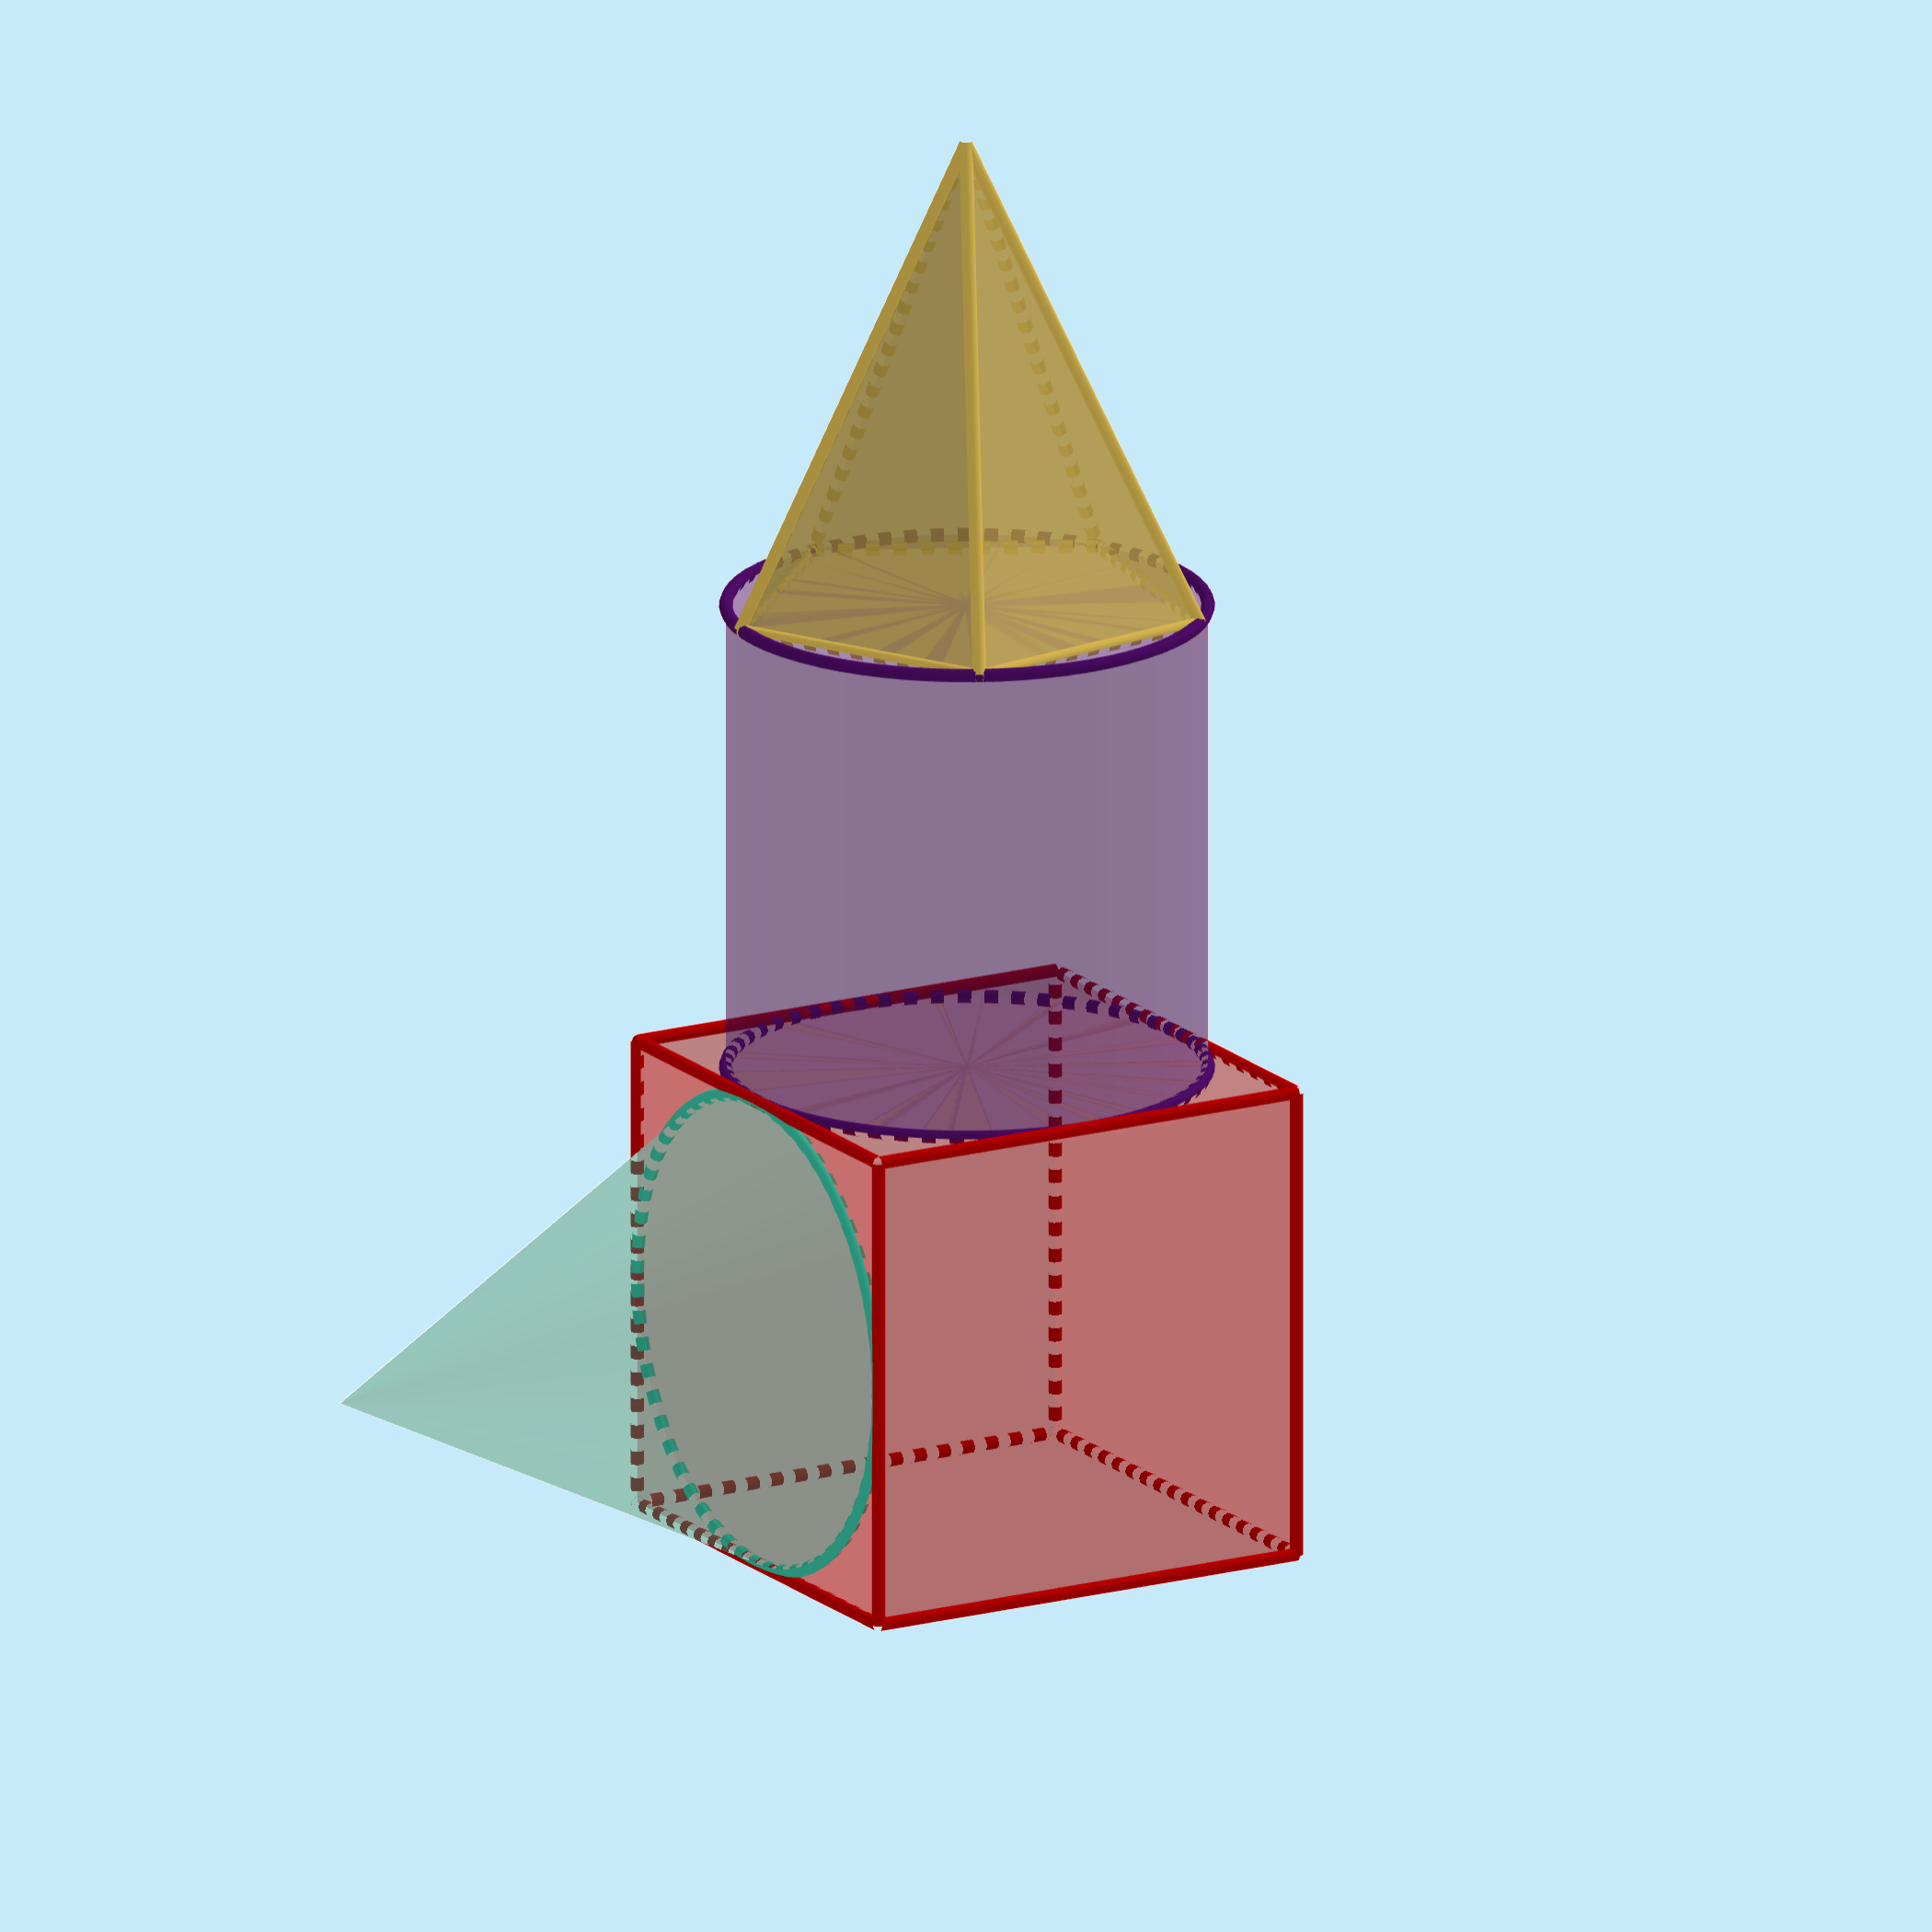
Students create a composite model and find the surface area of their model.
Evaluate
Students apply their knowledge of surface area to the real world.
Materials
Lesson Slides (attached)
Scratching the Surface - Red packet (attached; one per red group; print one-sided)
Scratching the Surface - Blue packet (attached; one per blue group; print one-sided)
Foldable handout (attached; one per student; print two-sided)
Model Foldable document (attached)
Creating Composites handout (attached; one per group of 3; print one-sided)
Exit Ticket handout (attached; one half per student; print one-sided)
Geometric Solids, at least including: triangular, pentagonal, and hexagonal prisms; triangular, rectangular, pentagonal, and hexagonal pyramids; and cylinder
Nets handout (attached; optional; print one-sided)
Rulers
Scientific calculators
Glue (or tape)
Scissors
Pencils
Paper
Preparation
Before beginning the lesson, go to mentimeter.com and create a Mentimeter presentation with an open-ended question type. Use the question “What would you need to know if you wanted to paint your room?” and use the Edit (pencil icon) option to adjust settings. Be sure to allow “multiple responses” per person. You can use the “Preview” button to get a sense of what you and your students will see during the presentation. Use the Share option (three interconnected dots icon) to generate the access code. Add the generated code to slide 5. Students use this code to enter their responses. Consider creating a different code for each class. Alternatively, consider resetting the results in preparation for the next class.
The Explore activity was designed to use EAI Education GeoModel Folding Shapes for the geometric solids. If you do not have access to these or similar geometric solids, use the attached Nets handout for students to make their own solids for this activity. Students need access to the following solids: triangular, pentagonal, and hexagonal prisms; triangular, square, pentagonal, and hexagonal pyramids; and cylinder. These solids are on pages 1–8. Each page of the document contains the net for one geometric solid. Print enough pages for each student to have one solid. There are additional nets on pages 9–11 that could be helpful for the Extend portion of the lesson.
If you do use the Nets handout, remind students with the cylinder net to not cut the circles off of the rectangle, but rather cut as close as possible. If students do accidentally cut the circle(s) off, a little tape solves this.
When printing the attached Foldable handout, make sure to print this handout two-sided, selecting the “flip on short edge” setting.
Engage
5 Minute(s)
Introduce the lesson using the attached Lesson Slides. Display slide 3 to share the lesson's essential question with students. Move to slide 4 to share the lesson's learning objectives. Review each of these with students to the extent you feel necessary.
Show slide 5. Direct students to go to menti.com, enter the generated code, and answer the following question: “What would you need to know if you wanted to paint your room?” Encourage students to write as much as they can using a modified Quick Write strategy. As students enter their responses, start the Menti presentation to display the results for students to see. Have a class discussion about student responses.
Explore
45 Minute(s)
Display slide 6 and direct the students to grab a ruler and pick a solid. Then have students get the paper from the Scratching the Surface packet that corresponds with their chosen solid.
Instruct students to identify, measure, and calculate the surface area of their solid.
Display slide 7. Direct students to take their materials (handout, solid, and ruler) and find one or more classmates who have the same solid. Instruct students to compare their results and work. Remind them that their answers might differ slightly based on their measurements and rounding. Guide students to compare their work for how they found their surface area regardless of their final results. Students should use their solid and ruler to re-measure if needed.
Display slide 8. Direct students to take their materials (handout, solid, and ruler) and go find everyone who has their same type of solid: prism or pyramid.
Show slide 9 and instruct students to work with their group to find the pattern to make a general formula for the surface area for their solid: prism or pyramid. Direct students to use words to write a formula for the surface area of their type of solid.
As students work, display slide 10. Use these guiding questions to help students reach this goal.
When finding the surface area, is there something that all prisms or all pyramids have in common?
Does your formula hold true for everyone in your group (for all prisms or for all pyramids)?
Explain
30 Minute(s)
Show slide 11 for students to see the connection between their formulas in words to the algebraic formulas. Have students compare what they have on their handout and what they see on the slide.
Give each student a copy of the attached Foldable handout and one pair of scissors. Transition through slides 12–18 to show students how to prepare their foldable.
Show slide 19 for students to see what the variables mean in the surface area of a prism formula. Direct students to find an Elbow Partner to fill out the “Surface Area of Prisms” section of the foldable. Have students fill in the blanks on the left and complete the example on the right using the formula they just learned.
After a few minutes, have the class come together to discuss what they wrote and compare results for the surface area of the given prism. Use the attached Foldable (Sample Responses) document as needed.
Show slide 20 for students to see what the variables mean in the surface area of a pyramid formula. Have students work with their elbow partner to fill out the “Surface Area of Regular Pyramids” section of the foldable. Have students fill in the blanks on the left and complete the example on the right using the formula they just learned.
After a few minutes, have the class come together to discuss what they wrote and compare results for the surface area of the given pyramid.
Show slide 21 for students to see what the variable means in the surface area formulas for a sphere and hemisphere. Have students work with their elbow partner to fill out the “Surface Area of Other Solids” section of the foldable. Have students fill in the blanks on the left and complete the example on the right using the formula they just learned.
After a few minutes, have the class come together to discuss what they wrote and compare results for the surface area of the given solid.
Now direct students to glue their Foldable into their math notebook, if that is a classroom norm.
Extend
30 Minute(s)
Display slide 22 and direct students to get into groups of 3 or assign groups. Pass out a piece of blank paper and one copy of the attached Creating Composites handout to each group of students. Instruct students to select one solid per column (for columns 1–4). Tell students to circle their selected solids on their handout and then create a model using their selected solids. Challenge students to also use a solid from the Extra Challenge column in their models.
Show slide 23 and instruct students to sketch only their model on a blank sheet of paper and find the surface area on the back of their Creating Composites handout.
Evaluate
10 Minute(s)
Use the Exit Ticket strategy to individually assess what students have learned from the lesson. Display slide 24 and pass out a half-page copy of the attached Exit Ticket handout to each student. Students are given a scenario of painting a room and are asked to find the area to be painted and the number of gallons of paint needed.
Collect the handout and use responses to see what misconceptions still exist.
Resources
K20 Center. (n.d.). Bell ringers and exit tickets. Strategies. https://learn.k20center.ou.edu/strategy/125
K20 Center. (n.d.). Elbow partners. Strategies. https://learn.k20center.ou.edu/strategy/116
K20 Center. (n.d.). Mentimeter. Tech Tools. https://learn.k20center.ou.edu/tech-tool/645
K20 Center. (n.d.). Quick write. Strategies. https://learn.k20center.ou.edu/strategy/1127