Summary
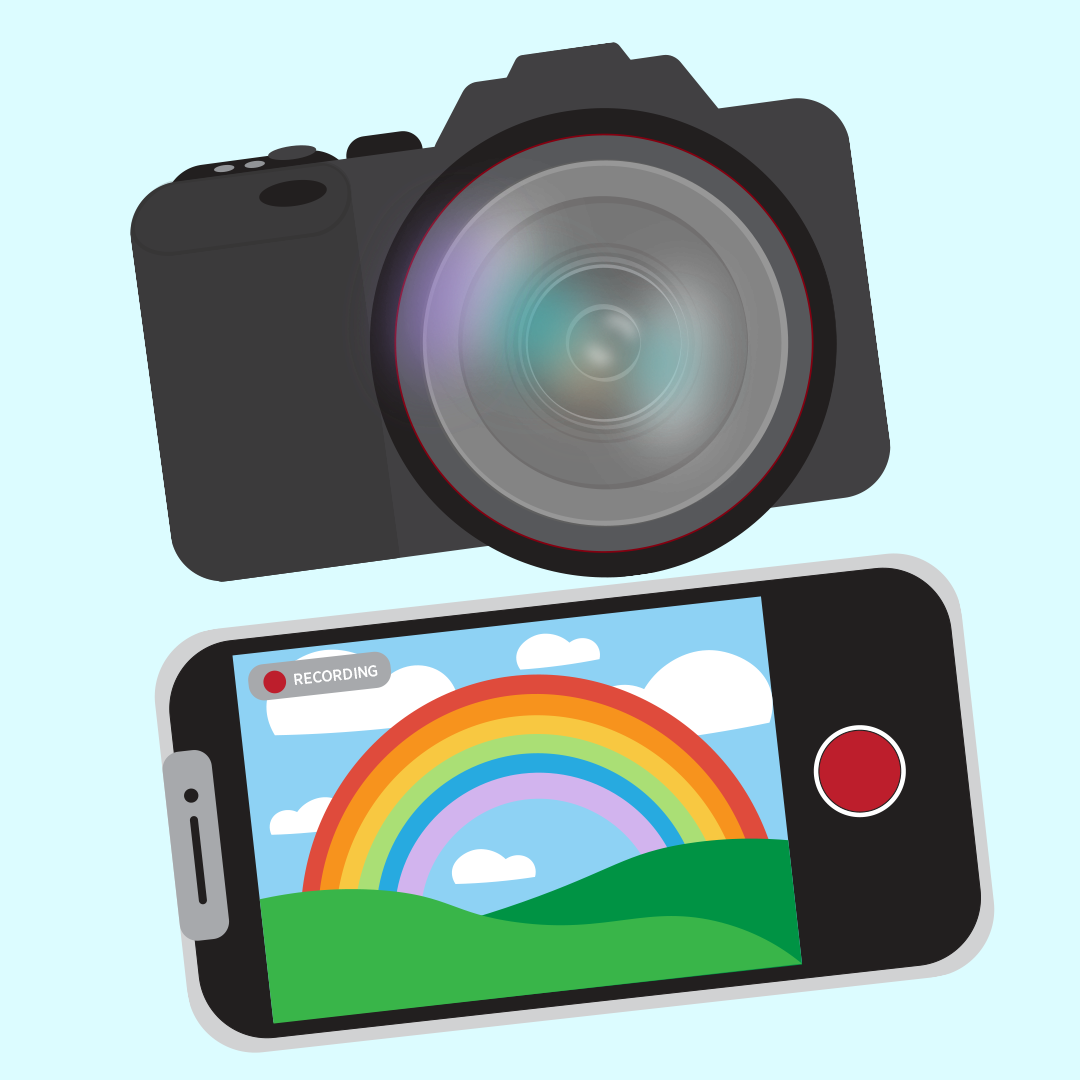
In this first lesson of a media production unit, students interact with five types of cameras used for filming and create a 60-second or less short film.
Essential Question(s)
Why do filmmakers use different types of cameras?
Snapshot
Engage
Students review the different types of cameras used for film production.
Explore
Students interact with five types of cameras at stations and complete a Note Catcher about what they observe and how the cameras might be used.
Explain
In groups, students highlight a reading about five types of cameras and add new information to their Note Catcher.
Extend
Students examine five scenarios and determine the best type of camera to use when filming the scenarios. Then, they select a scenario to create a 60-second or less film.
Evaluate
Students view the created films and vote on their favorite film.
Materials
Lesson Slides (attached)
Types of Cameras Note Catcher handout (attached, one per student)
Cameras for Filming Reading handout (attached, one per student)
Choose a Camera handout (attached, one per student)
iPhone
Mirrorless camera
PTZ camera (with joystick and switchers)
GoPro camera
DSLR camera
Mac computers
Copy paper
Notebook paper
Pens and pencils
Highlighters
Poster board
Poster markers
Sticky notes
Engage
10 Minute(s)
Use the attached Lesson Slides to guide the lesson. Display slide 3. Ask students to take out a piece of notebook paper and a pen or pencil. Ask students to look at the cameras on the slide and to think about the question: Why are there different types of video cameras?
Introduce students to the Think-Pair-Share strategy. Have students write down some thoughts individually. Then have students turn to a partner and share what they have written down. Next, have students create a new thought that combines both of their thoughts. Ask them to write their combined thoughts on a sticky note. Tell students to place their sticky notes on the whiteboard and read several of the notes to the class.
Display slides 4–5. Read the essential question and the lesson objective to the class.
Explore
30 Minute(s)
Pass out the attached Types of Cameras Note Catcher handout to each student. Move to slide 6 and introduce students to the Chat Stations strategy. Place students in groups of five. Ask students to move as a group to each camera station. Provide about 5 minutes at each station for groups to interact with the cameras. Ask students to write down the features of the camera they observe in the first column and what the purpose of each camera might be in the second column. Continue until all groups have visited each station. Have students return to their desks. Ask volunteers to share what they discovered about each camera.
Explain
30 Minute(s)
Pass out the attached Cameras for Filming Reading handout to each student. Introduce students to the Why-Lighting strategy. Display slide 7. Ask students to read and highlight the handout individually, adding notes to the handout that detail the reasoning for their highlighting. Have students talk in groups about what they chose to highlight and why. Then ask for volunteers from each group to share what they have learned about each type of camera. Have a class discussion about the way in which someone might choose a specific camera for a project.
Extend
45 Minute(s)
Pass out the attached Choose a Camera handout to each student and move to slide 8. Have students read the five scenarios and think about which type of camera would be best for filming each scenario. Have students add the specific camera for each scenario and their reasoning for picking the camera. After providing time for students to complete the handout, have students return to groups to discuss which camera they chose for each scenario. Ask for volunteers to share what cameras were chosen for each scenario and have a class discussion about the importance of picking a camera for filming different scenarios.
Collect the Choose a Camera handouts to check for student understanding.
Return the Choose a Camera handout to students and have students return to their groups. Display slide 9. Ask students to select one of the scenes from the handout to film, using only one or two cameras. Review the requirements for filming the scene on slide 9 and set a timer for 15 minutes. After time is up, tell students to move to a Mac computer with their group. Tell students to upload their raw footage into iMovie and edit the footage into a 60-second short film.
After providing time for students to edit their footage, tell students to upload the short film to a shared folder on Google or Dropbox so that they can be shown to the class.
Evaluate
30 Minute(s)
Welcome students back to class and tell them that the completed films are going to be viewed as a class. Explain that students will vote on their favorite film so while viewing the films, they should think about the cinematography of each film. Show each film one at a time and discuss the films between each viewing. Introduce students to the Commit and Toss strategy. Provide each student with a sticky note. Ask students to write their choice for best film on a sticky note. Use a spare empty wastebasket or other receptacle to have students toss the sticky note into. Tabulate a winner by reading the sticky notes. Announce and congratulate the group that created the winning film.
Resources
Introduction to basic editing in iMovie. (n.d.). PSU Media Commons. https://mediacommons.psu.edu/2017/12/03/introduction-to-basic-editing-in-imovie/
K20 Center. (n.d.). Chat Stations. Strategies.
K20 Center. (n.d.). Commit and Toss. Strategies.
K20 Center. (n.d.). Mentimeter. Tech Tools. https://learn.k20center.ou.edu/tech-tool/645
K20 Center. (n.d.). Padlet. Tech Tools. https://learn.k20center.ou.edu/tech-tool/1077
K20 Center. (n.d.). Think-Pair-Share. Strategies. https://learn.k20center.ou.edu/strategy/139
K20 Center. (n.d.). Why-Lighting. Strategies.


