
Summary
In this visual arts lesson, students will design characters from shapes. After starting their designs, they will view videos from two professional artists on completing this exercise and iteration in character design. Once students have refined their characters, they will trade with other students who will offer suggestions. Finally, students will create a finished character and reflect on the lesson using Chat Stations.
Essential Question(s)
How does shape inform character design?
Snapshot
Engage
Students draw three shapes and color each with one solid color.
Explore
Students write a Preflection, turn their shapes into characters, and watch a short video.
Explain
Students watch a video from a character artist and find its Point of Most Significance. Afterward, they Pass the Problem to another student for help with their designs.
Extend
Students use feedback from the previous step and further develop their character through the use of accessories. Optionally, students watch a career connection video about the work of an artist.
Evaluate
Students return to their Preflection writing, and then navigate Chat Stations to help them evaluate their experience.
Materials
Lesson Slides (attached)
Chat Stations Posters (attached)
Chat Stations Questions (attached, one per student)
Pencils
Markers, pastels, or other coloring instruments
Blank drawing paper
Projector
Speakers
Engage
5 Minute(s)
Display slide 3 from the attached Lesson Slides. Provide each student with a piece of copy paper and tools use for coloring. Have students each draw three different, contrasting shapes and fill each one with a solid, contrasting color. Start the timer on slide 3 and provide 5 minutes for students to complete the task.
Explore
20 Minute(s)
Move through slides 4-5 and review the essential question and lesson objective with students. Move to slide 6 and have students take out a piece of notebook paper. Using the Preflection strategy, tell students to write a response to the essential question:
How does shape inform character design?
Ask for volunteers to share their thoughts about the question. When they have finished, collect their papers for use later in the lesson.
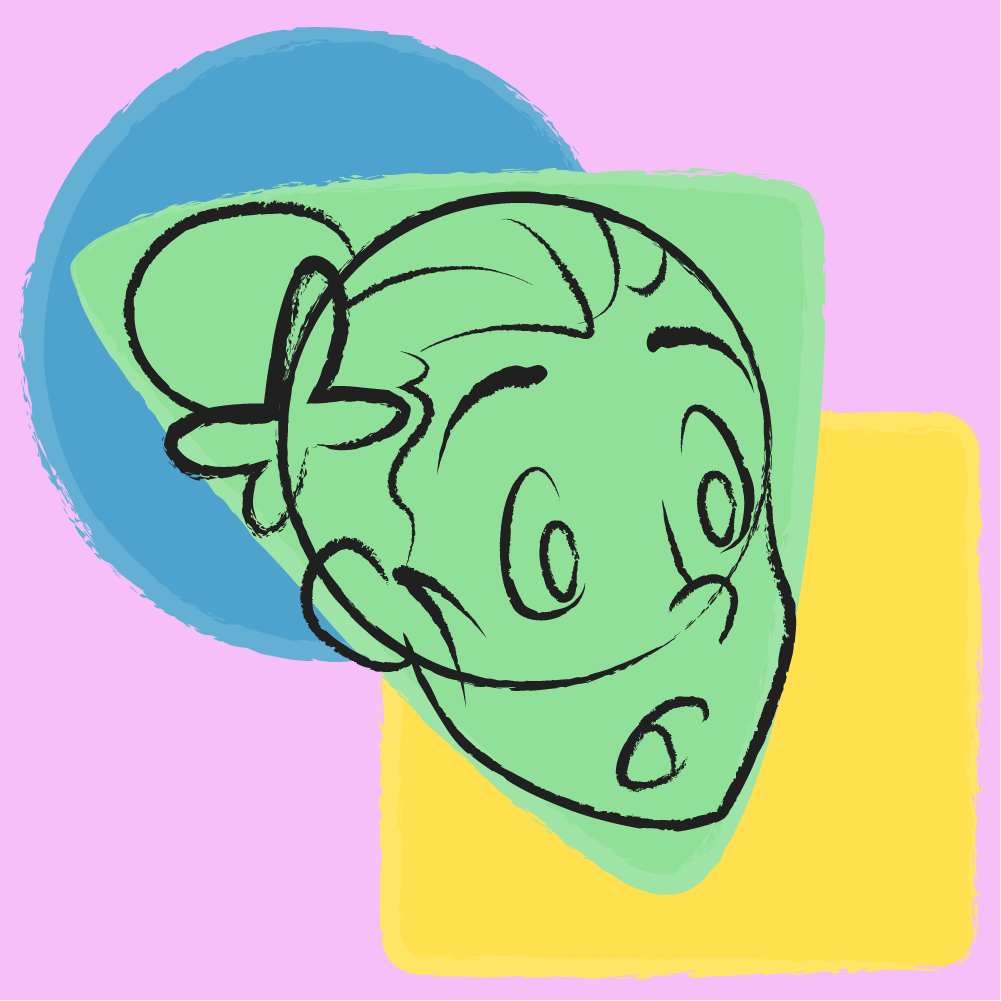
Move to slide 7 and instruct students to turn each of the shapes that they drew into a different character. Suggest that they try to use the shapes in inventive ways. Are they faces? Bodies? Human-like? Creatures? Students are free to alter the proportions of the shape or the shade of the color, but each change should be drawn next to the previous version so it’s clear how the character evolves. Tell students that they have 5 minutes to turn their shapes into characters and begin the timer on slide 7.
When time expires, display slide 8 and show the Drawing Shapes Into Faces! video.
Display slide 9. Tell students that they have 10 more minutes to finish turning their shapes into characters, and then start the timer.
Explain
25 Minute(s)
Display slide 10 and show the video ITERATION: An Essential Character Design Tool!
Move to slide 11 and ask students to think about the POMS: Point of Most Significance from the video. Ask students to share their thoughts with a partner, and then ask for volunteers to share with the whole class.
Display slide 12 and instruct students to do a variation of the Pass the Problem strategy. Instruct students to make a new iteration of one of their characters, and then have them exchange their artwork with another student. Each student will now draw a version of the character before them based upon the latest iteration and add a few lines of design feedback underneath. Instruct them to consider changing elements like texture, line thickness, and shade. They can also change the primary color used for the character if they think there is a better option.
Have students return their papers to the original owners and use the feedback from their peers to make another iteration of their characters. They don’t have to keep this new iteration as their final product, but updating the character based on feedback gives them another perspective to consider.
Extend
10 Minute(s)
Display slide 13. Tell students to add an accessory to each character using a different color. (They can also change the color of the character to better suit the accessory.) The accessory should tell viewers something else about the character. Remind students about the video on iteration and how each small change to the face greatly informed the final tone and expression of the character. How could a piece of clothing or jewelry or a held item do the same?
Display slides 14 and 15 to provide examples for students of what the process of modifying their characters could look like.
Extend 2 (Optional ICAP)
15 Minute(s)
Have students navigate to the Mentimeter using your link and code. As they watch the ICAP video, have them write down ideas that they find interesting.
Evaluate
20 Minute(s)
Display slide 16. Distribute students' Preflections responses from earlier in the lesson and have the students answer the essential question again now that they have practiced making characters from shapes. Ask for students to share their thoughts.
Move to slide 17. Pass out the attached Chat Stations Questions handout to each student. Have students find their previous partner and then combine with another pair to form groups of four.
Tell students to visit each of the Chat Stations as a group, discuss the question that appears on the poster at that station, and answer the question on their handout.
Resources
Audity. (2021, August 5). Drawing shapes into faces! [Video]. YouTube. Retrieved June 7, 2022, from https://www.youtube.com/watch?v=FQd3h9tTMvk
Brookes Eggleston - Character Design Forge. (2021, June 6). Iteration: An essential character design tool! [Video]. YouTube. Retrieved June 7, 2022, from https://www.youtube.com/watch?v=KCF0-PBtHAA
K20 Center. (n.d). Chat stations. Strategies. https://learn.k20center.ou.edu/strategy/944
K20 Center. (2022, August 8). K20 ICAP - Triangles and circles and squares! Oh my! [Video]. https://www.youtube.com/watch?v=25e-7Cuh-z0
K20 Center. (n.d.) Mentimeter. Tech Tools. https://learn.k20center.ou.edu/tech-tool/645
K20 Center. (n.d.) Pass the problem. Strategies. https://learn.k20center.ou.edu/strategy/151
K20 Center. (n.d.) POMS: Point of most significance. Strategies. https://learn.k20center.ou.edu/strategy/101
K20 Center. (n.d.). Preflections. Strategies. https://learn.k20center.ou.edu/strategy/191
K20 Center. (n.d.). Squiggles. Strategies. https://learn.k20center.ou.edu/strategy/936